
Enjoy Dustless Hardwood Flooring installation & Refinishing Services for homes in Longmont
Schedule Online
THE TRUSTED FLOORING INSTALLATION SERVICE IN Longmont colorado, Boulder county and the Front range
For years, we've been dedicated to enhancing homes and businesses throughout Longmont Colorado, Boulder County and the Front Range with our exceptional dustless flooring installation services. Our commitment is straightforward: "Elevate Your Floors, Enhance Your Space." We prioritize top-notch craftsmanship, customer care, and quality materials to transform every project into a masterpiece. Whether it's dustless hardwood flooring installation, general flooring installation, floor maintenance, stairs, or other flooring types, we take pride in every installation. Our advanced dustless equipment and skilled team reflect our dedication, and our satisfied clients across Longmont Colorado, Boulder County and the Front Range attest to our commitment to excellence. Discover why your neighbors trust Cedar Oak Flooring for all their flooring needs!
Dustless Commercial & Residential Flooring Installation Services Available
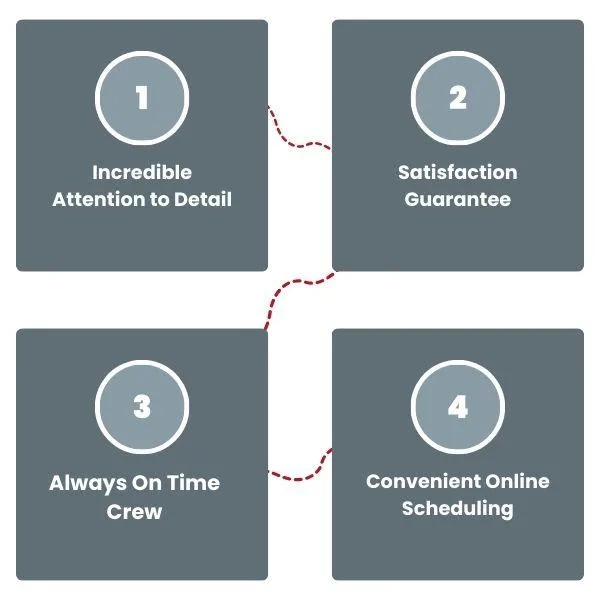
Why Choose Cedar Oak Flooring

No blogs found
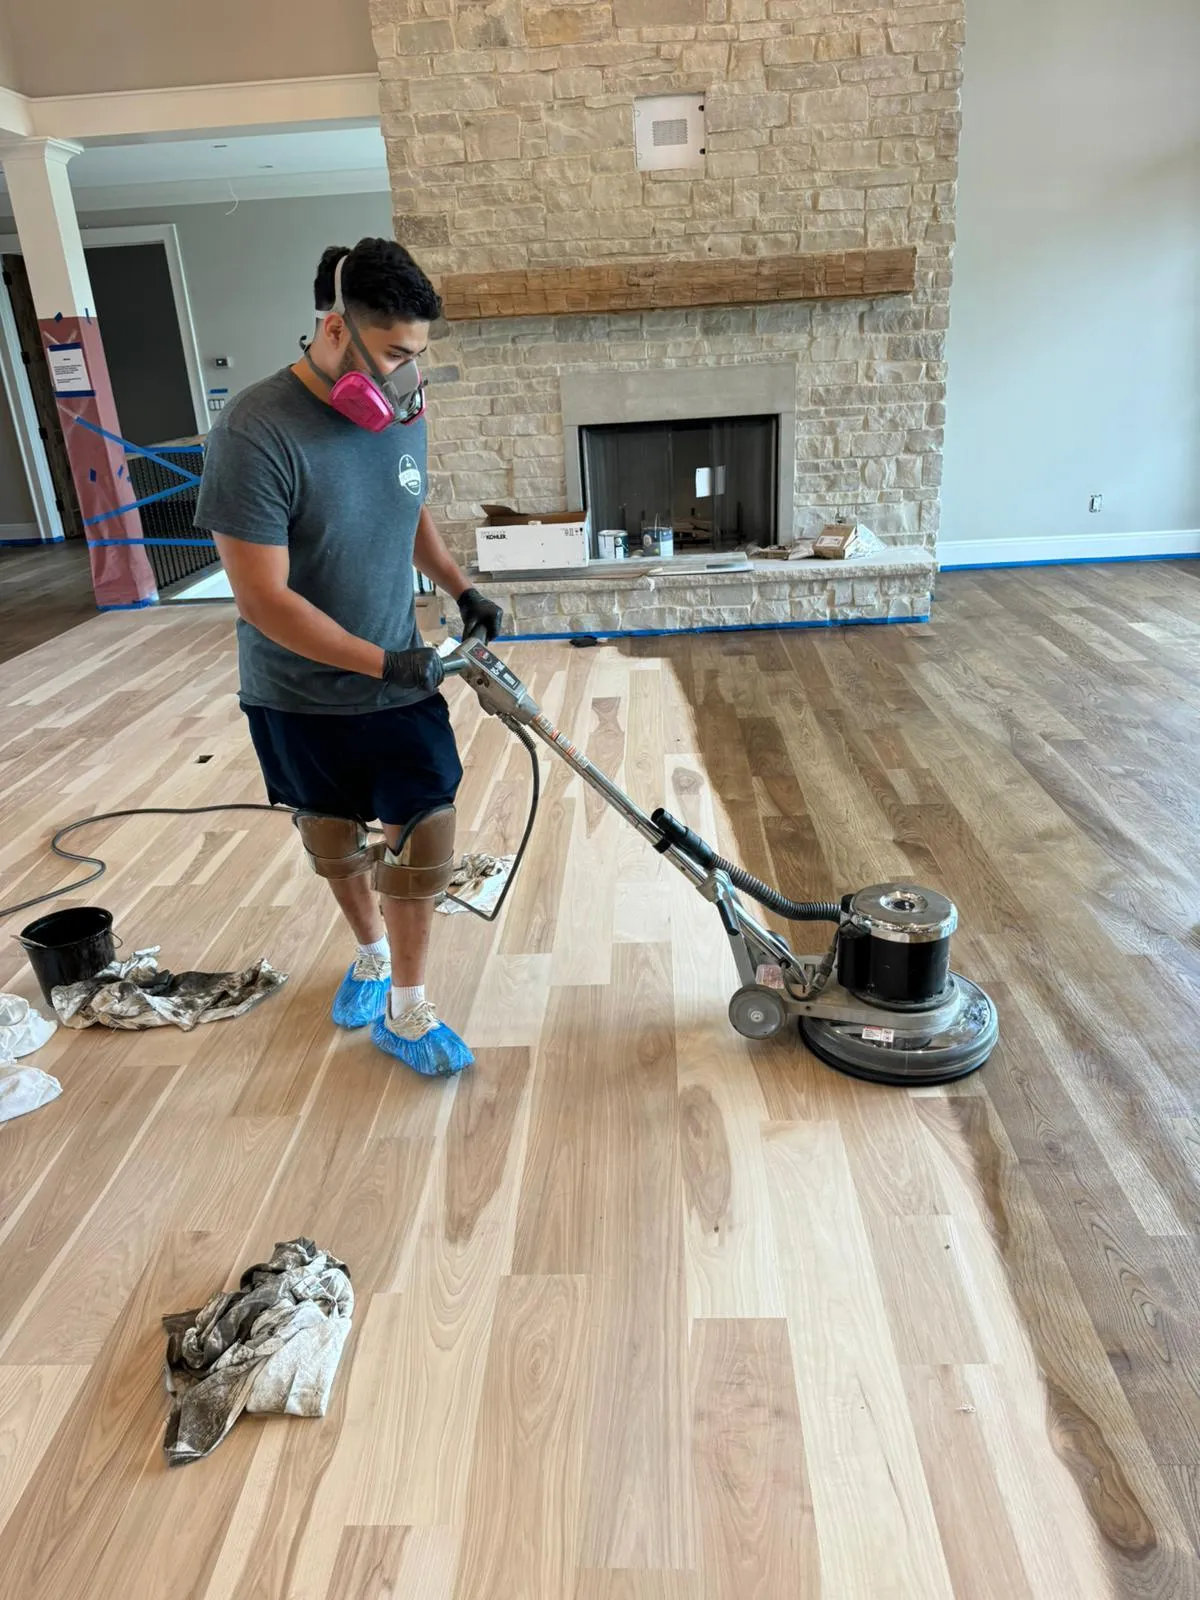


We provide top-quality dustless hardwood flooring services in Longmont Colorado, Boulder County and the Front Range, including dustless installation, dustless refinishing, and maintenance. Enhance your space with the timeless beauty and durability of hardwood floors.
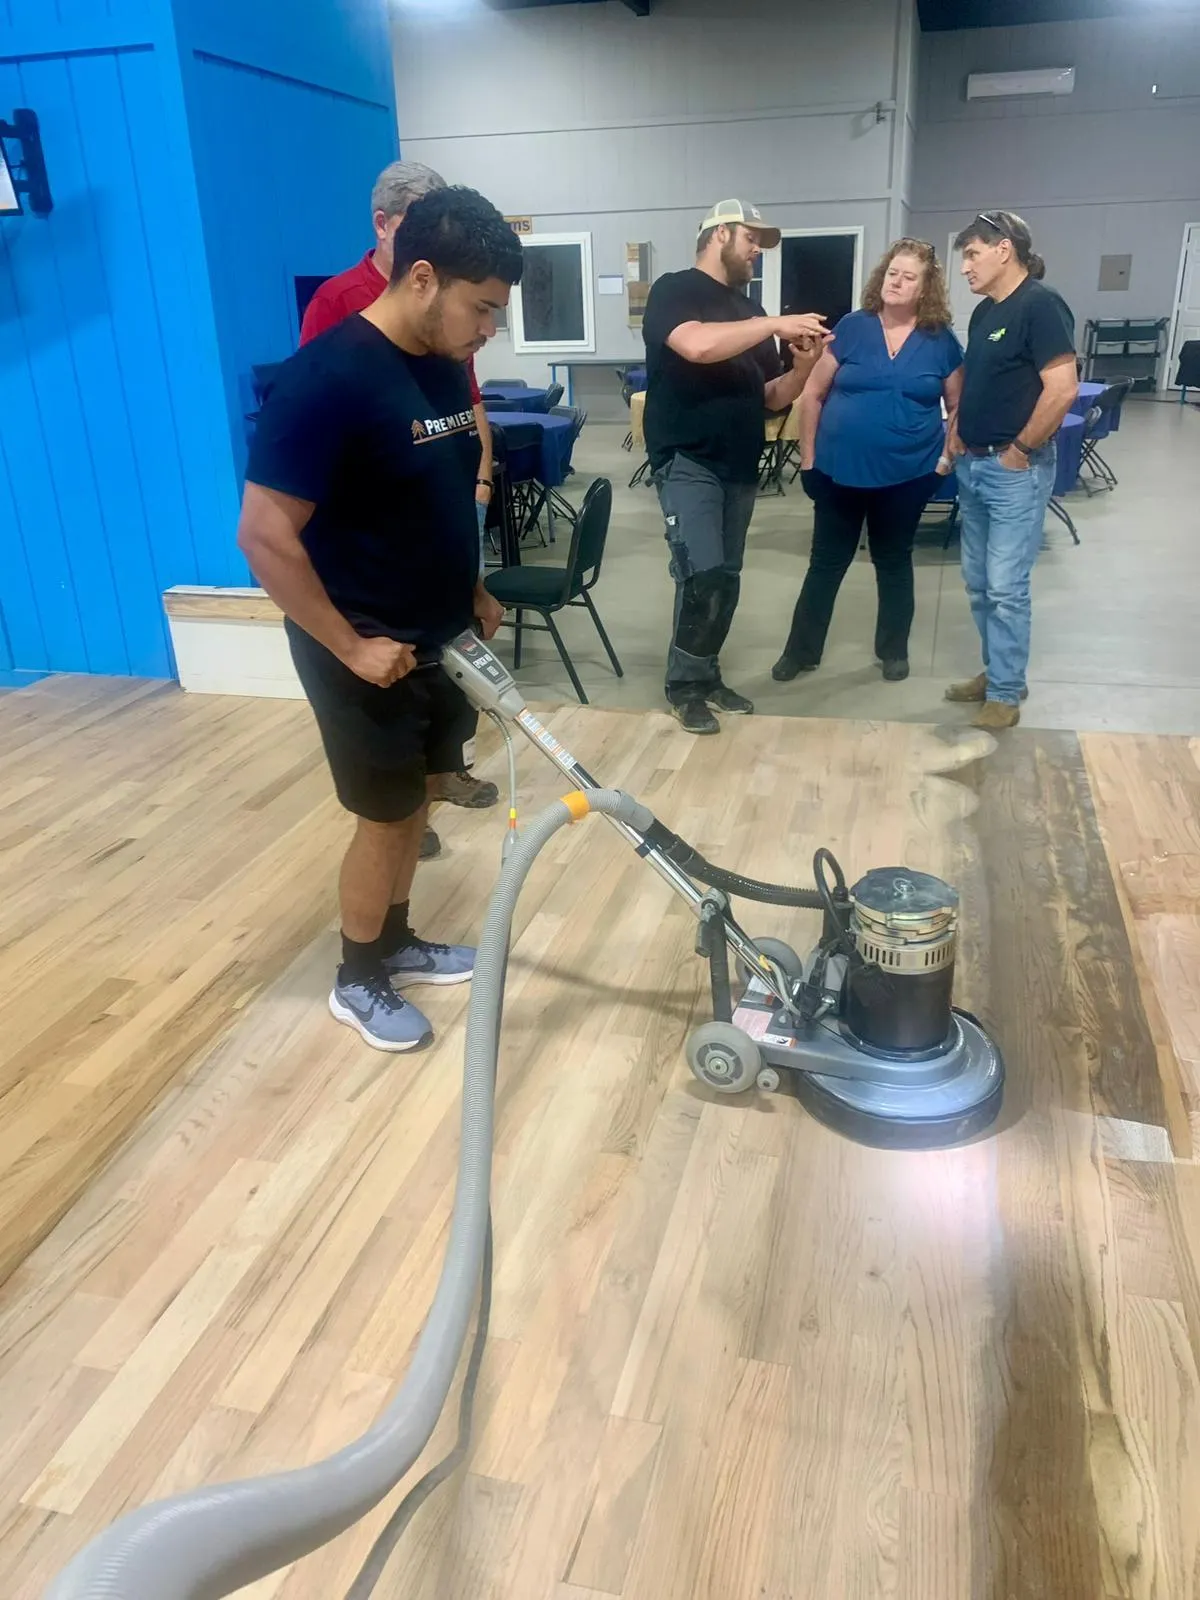
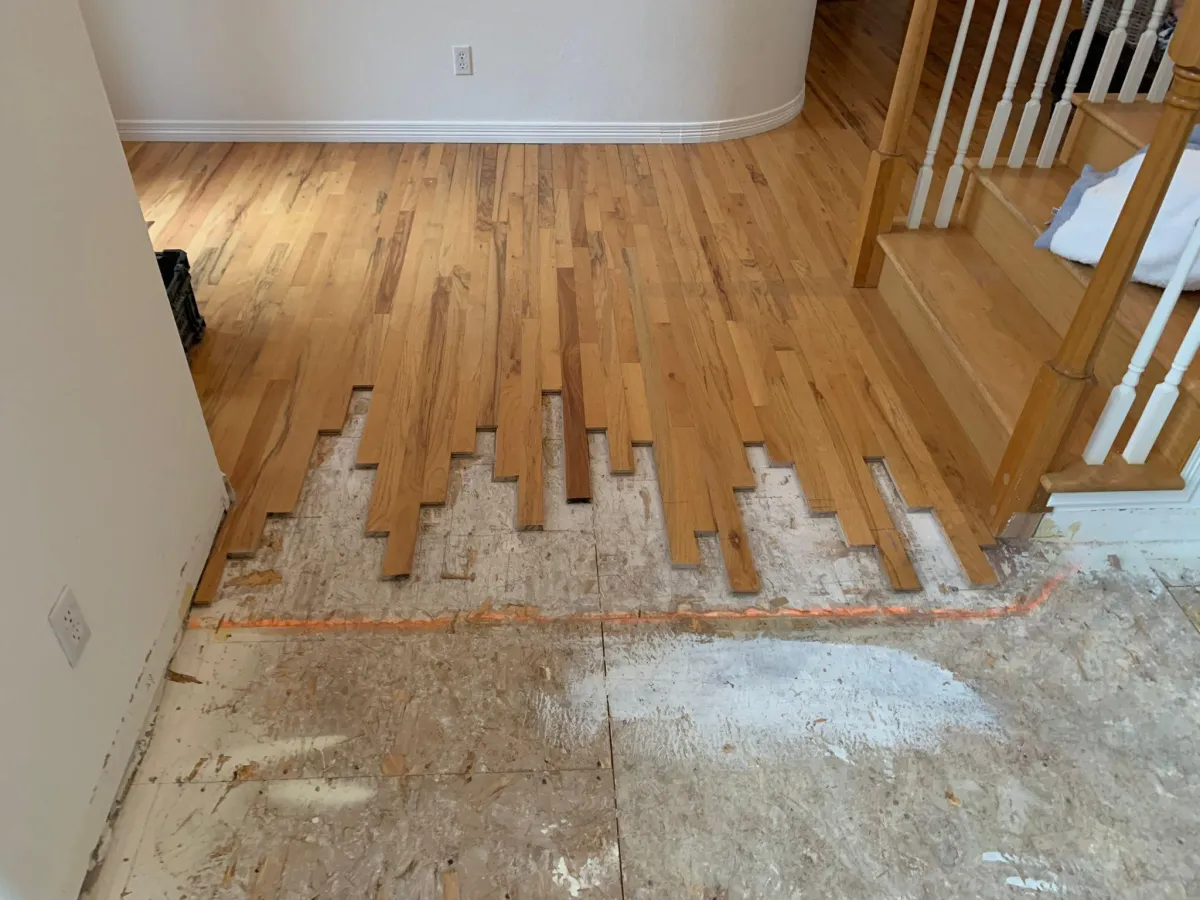
We provide expert dustless flooring installation services in Longmont Colorado, Boulder County and the Front Range. From dustless hardwood to laminate, we ensure precise installation for a flawless and long-lasting finish.
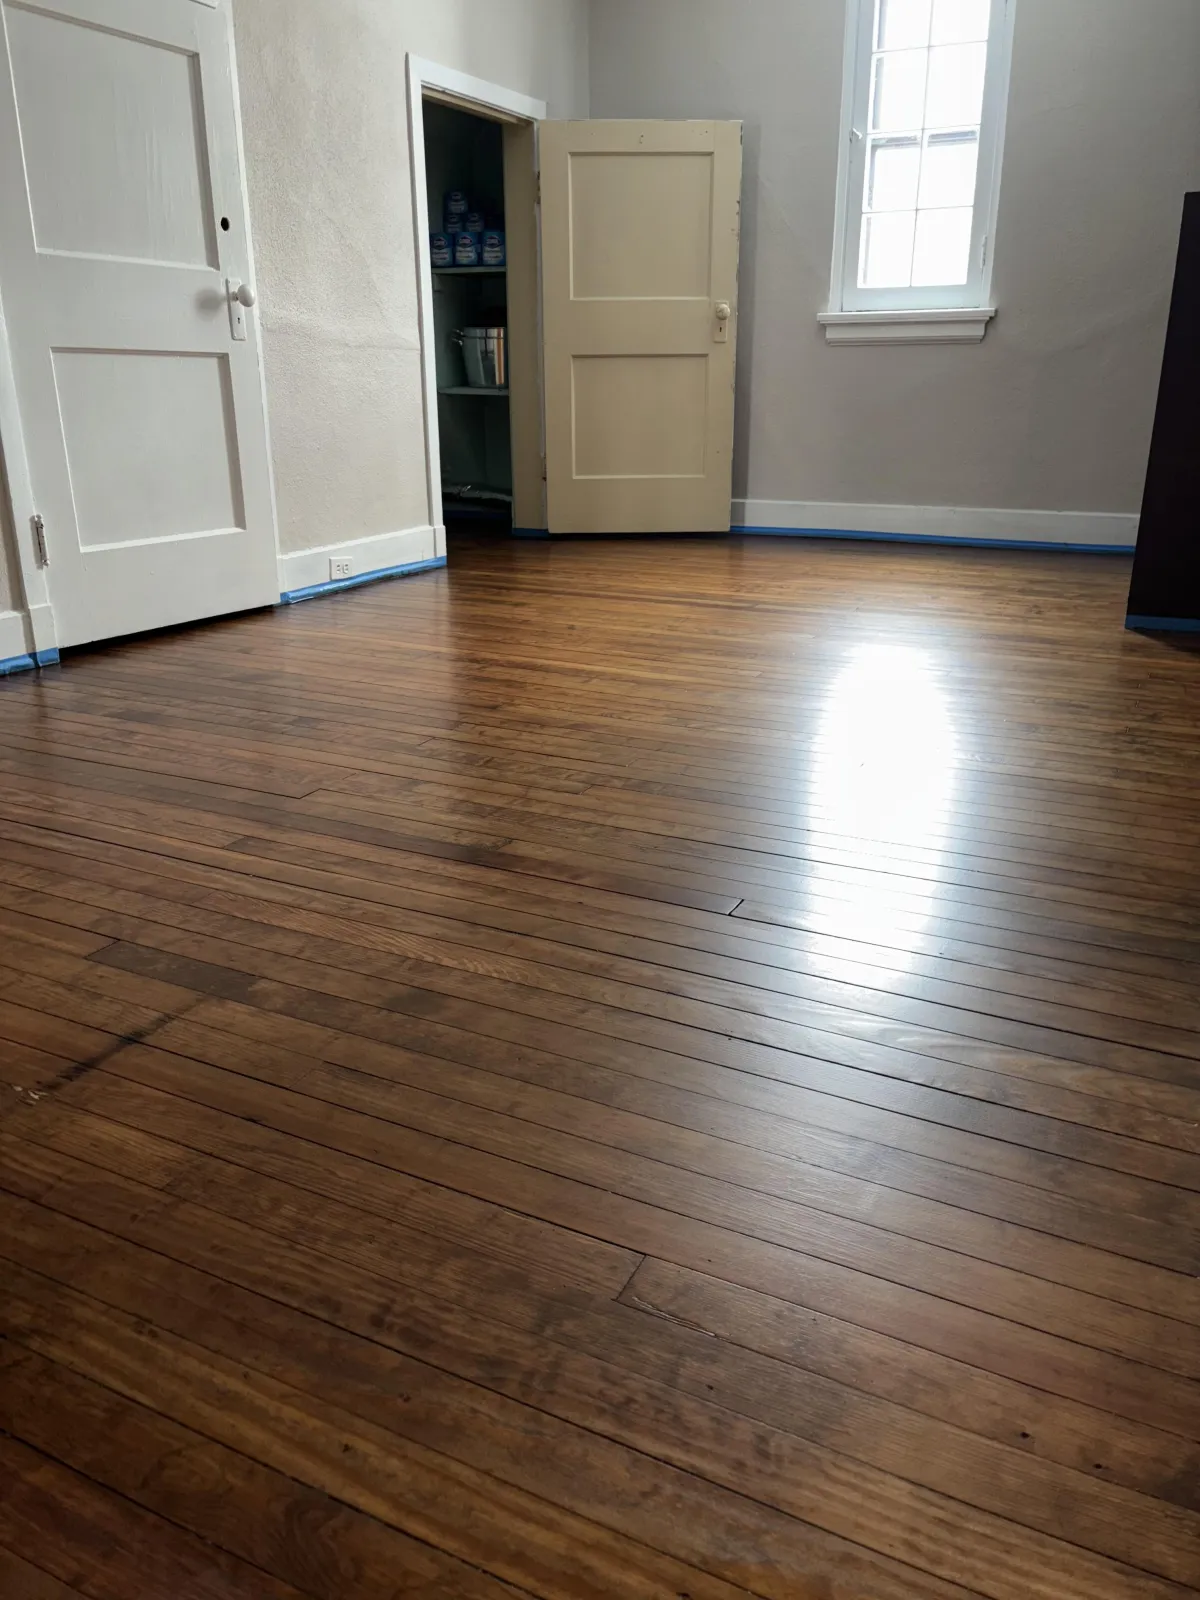
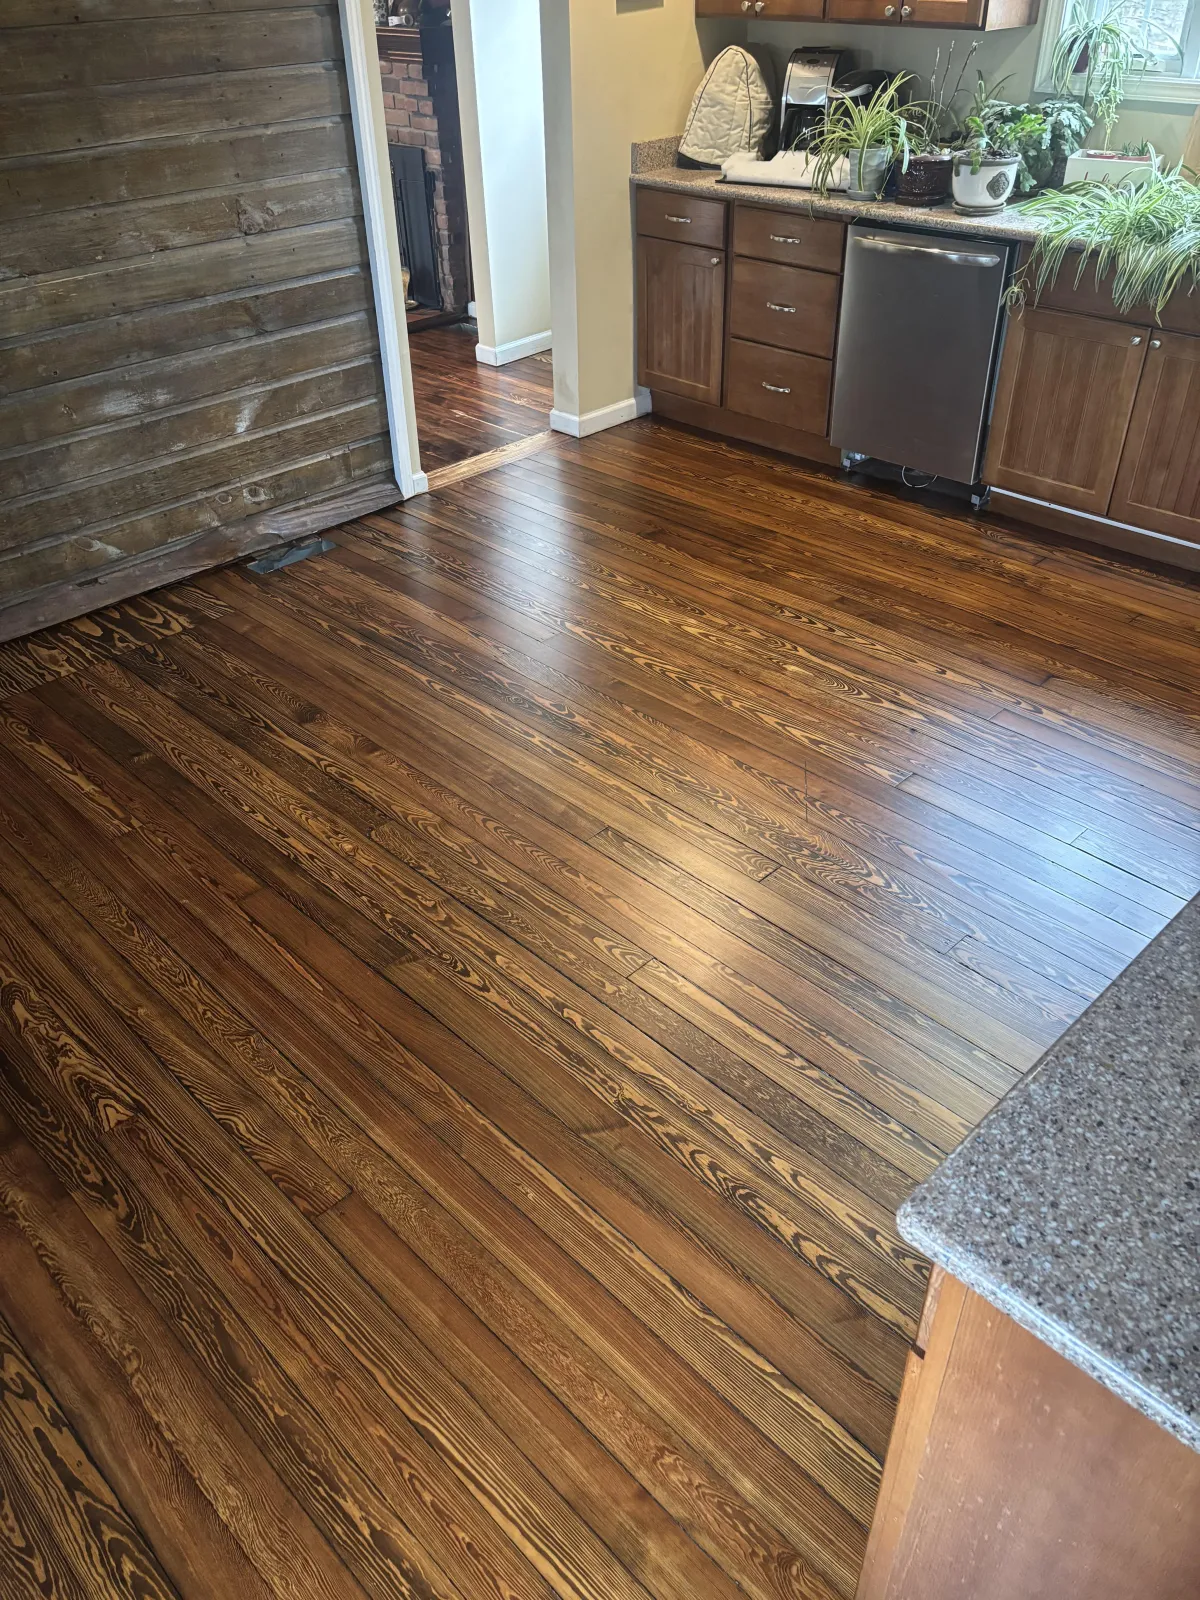
We offer professional dustless hardwood flooring refinishing services in Longmont Colorado, Boulder County and the Front Range. Revitalize your worn floors with our expert dustless sanding and refinishing process, restoring their natural beauty and durability.
We provide professional dustless flooring maintenance services in Longmont Colorado, Boulder County and the Front Range, ensuring your floors stay clean, durable, and beautiful over time. From dustless routine cleaning to protective treatments, we help extend the life of your floors.
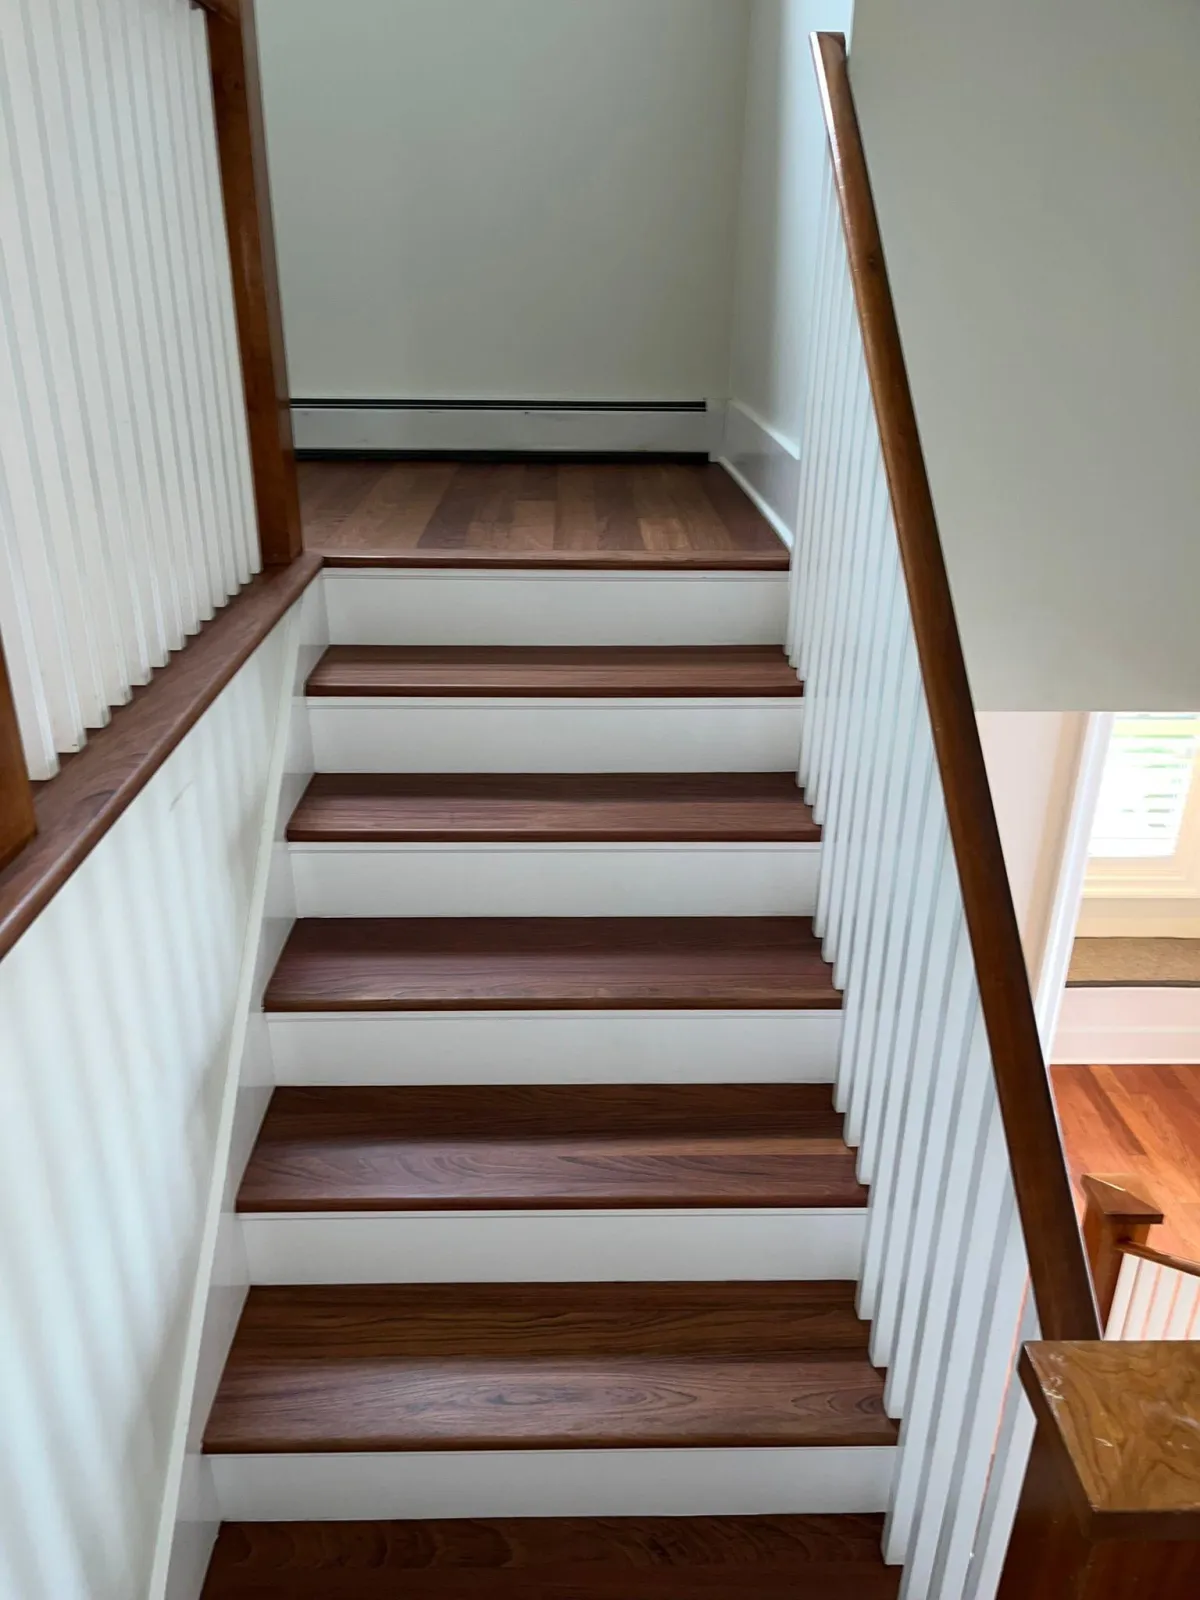
We offer expert dustless hardwood stair refinishing and maintenance in Longmont Colorado, Boulder County and the front range. From restoring shine to enhancing durability, our dustless process keeps your stairs looking beautiful and safe for years to come.
Schedule Online
READY TO GIVE US A TRY?
The Cedar Oak Difference
Get Started today
Cedar Oak dustless hardwood floors are not just floors—they're a statement. The durability and warmth they add to every room make them an investment for a lifetime. Whether you're looking for the classic charm or a modern twist on traditional flooring, our dustless hardwood floor selection will cater to every taste.

(720) 864-1086
HOURS
Weekdays: 8-5
Weekends: On Call
EMERGENCY SERVICE AVAILABLE
QUICK LINKS
COPYRIGHT © 2025
ALL RIGHTS RESERVED // PRIVACY POLICY // TERMS AND CONDITIONS