Where to Start Laying Laminate Flooring in a Room: A Step-by-Step Guide for Beginners
Preparing Your Room for Laminate Flooring

Clear the Room of Furniture and Carpets
Before you even think about laying down that first plank of laminate, you gotta start with a blank slate. Clear out all the furniture and any carpets or rugs. This way, you won't be tripping over stuff while you're working. Plus, it gives you a chance to see the whole floor and plan your layout better.
Inspect and Clean the Subfloor
Now that the room's empty, it's time to get down and dirty with the subfloor. Check for any nails sticking up or any other debris that might cause bumps under the laminate. If you've got a wooden subfloor, make sure it's not creaking or uneven. A quick sweep and vacuum will help, but you might need to patch up any low spots with a leveling compound. If you're in a place with a lot of moisture, like a basement, consider adding a vapor barrier to keep things dry.
Remove Baseboards and Trim
Next up, grab your tools and carefully remove the baseboards and any trim around the room. Doing this gives you a cleaner edge to work with and makes it easier to fit the laminate planks snugly against the walls. Don't forget to label the pieces as you remove them, so you know where they go when it's time to put them back. If you're unsure about how to do this, Cedar Oak Flooring in Middlefield, Ohio, offers expert advice and services that could be really helpful. Once everything's off, give the floor one last sweep to make sure it's spotless before you start laying down your new floor.
Choosing the Right Underlayment
Before you even think about laying down those laminate planks, it's crucial to pick the right underlayment. This is the unsung hero that can make or break your flooring project. Choosing the right underlayment ensures your floor lasts longer and feels great underfoot.
Types of Underlayment for Laminate Flooring
There are several types of underlayment available, each serving different purposes:
- Foam Underlayment: This is the most common type used for laminate flooring. It's affordable and provides a basic level of sound absorption and cushioning.
- Cork Underlayment: Ideal for soundproofing and adding a bit more insulation. Cork is a natural material that can help reduce noise between floors.
- Combination Underlayment: This includes both a foam layer and a moisture barrier, perfect for areas where moisture might be an issue.
Installing a Moisture Barrier
A moisture barrier is essential, especially if you're installing laminate flooring on a concrete subfloor. Here's how you can do it:
- Roll out the moisture barrier across the entire floor, overlapping the edges by a few inches.
- Secure the seams with waterproof tape to prevent any moisture from seeping through.
- Trim the excess material at the edges of the room using a utility knife.
Securing the Underlayment Properly
Once you've chosen your underlayment, securing it correctly is vital:
- Lay the underlayment in the same direction as your laminate planks.
- Use a staple gun or adhesive to fix the underlayment in place, ensuring it doesn't shift during installation.
- Avoid overlapping the underlayment, as this can create uneven spots in your flooring.
Taking the time to choose and install the right underlayment will not only enhance the comfort of your laminate floors but also extend their lifespan. It's a small step that makes a big difference.
For those in Middlefield, OH, considering professional installation, Cedar Oak Flooring offers expert services to ensure your floors are laid perfectly.
Starting the First Row of Laminate Flooring
Aligning the First Row with the Longest Wall
To kick off the laminate flooring installation, it's best to start along the longest wall in the room. This approach not only makes the floor look more balanced but also minimizes the need for cutting. Aligning the first row properly is crucial as it sets the foundation for the rest of your flooring project. Begin by laying the first plank with its tongue side facing the wall. If the room's door is on the shorter wall, start there to keep the clean edge at the threshold.
Using Spacers for Expansion Gaps
Laminate flooring naturally expands and contracts due to changes in temperature and humidity. To accommodate this, leave a small gap between the flooring and the wall. Use spacers to maintain a consistent gap of about 3/8-inch. This gap prevents buckling as the floor expands. Secure these spacers with tape to ensure they stay in place throughout the installation process.
Cutting and Fitting the First Row
Once you've laid out the first few planks, you'll likely need to cut the last plank to fit. Measure the space for the final piece, accounting for the expansion gap, and cut the plank to size. When cutting, make sure to keep any offcuts longer than 16 inches for potential use later. Snap the planks together by aligning the tongue and groove, pressing them firmly into place. If you need some guidance on cutting techniques, check out our flooring solutions guide for more tips.
Laying the Remaining Rows
Staggering the Planks for Stability
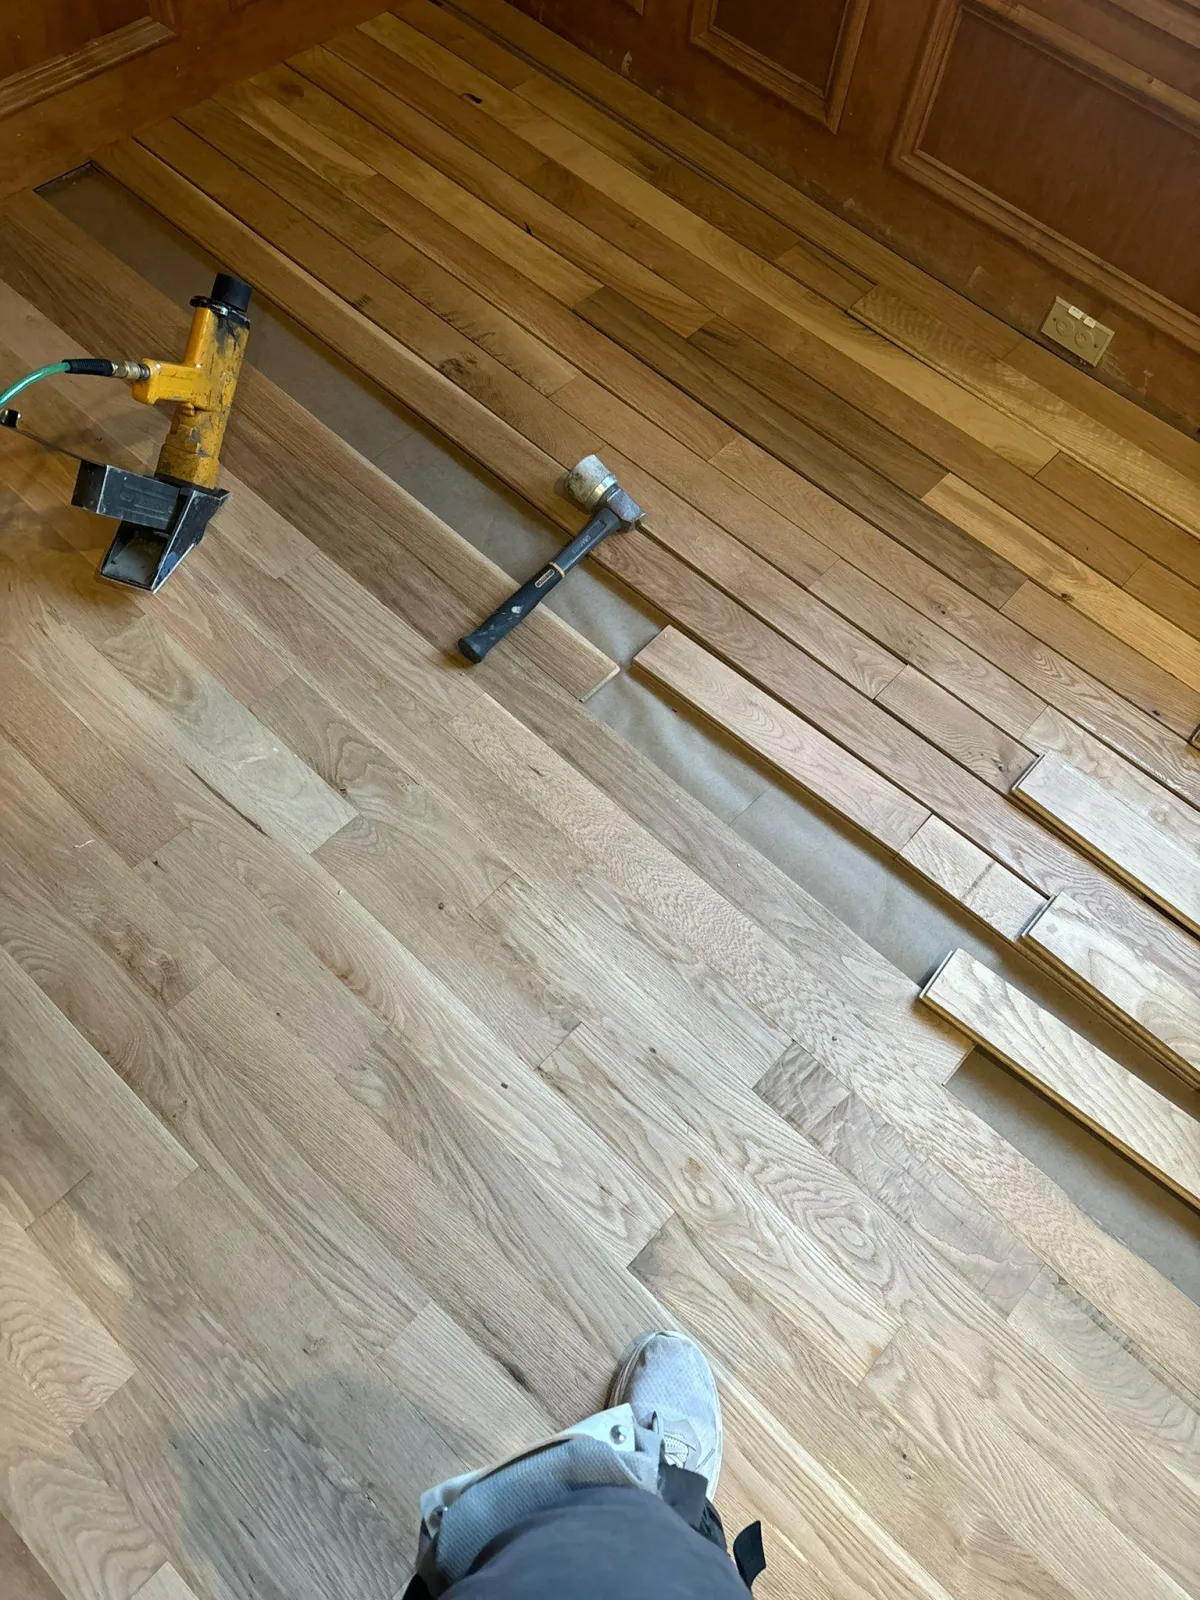
When you're laying out the remaining rows of your laminate flooring, it's key to stagger the planks. This isn't just for looks, but it also adds to the floor's stability. Imagine the seams like a brick wall; they shouldn't line up directly but should be offset, ideally by about 12 inches. This staggered pattern helps distribute weight evenly and prevents the floor from weakening over time. By staggering the seams, you ensure a more durable and visually appealing floor.
Connecting the Tongue and Groove
Now, let's talk about connecting those planks. Each piece of laminate has a tongue and groove system. You fit the "tongue" of one plank into the "groove" of another. You might think you need to use a lot of force, but actually, a gentle push or a tap with a rubber mallet is usually enough. If it's not clicking in easily, double-check your alignment. Sometimes, using a tapping block can help you snug those pieces together without damaging the edges.
Handling Doorways and Obstacles
Doorways and other obstacles can be tricky. When you hit a doorway, you'll likely need to cut the planks to fit snugly around the frames. Use a jigsaw for precision cuts. Remember to leave a small gap for expansion, about 3/8 of an inch. This gap will be covered later by a transition strip or molding, so it won’t be visible. Also, group your laminate pieces by color and shade to keep a consistent look throughout the room. This way, you avoid clumps of similar colors and create a more natural flow.
Pro Tip: Save the cut-off pieces from the end of each row. These can often be used to start the next row, which helps maintain your staggered pattern and reduces waste.
For more detailed insights on flooring techniques, check out our flooring solutions guide.
Finishing Touches and Maintenance

Reinstalling Baseboards and Trim
Once your laminate flooring is down, it's time to focus on the finishing touches. Reinstalling baseboards and trim can make a big difference in how polished your room looks. Start by carefully attaching the baseboards back to the wall. Use a nail gun or hammer and nails, being cautious not to damage your new floor. If you’re considering new baseboards, remember that options like MDF, wood, or plastic can all provide different looks and durability. Make sure everything is snug and fits well against the walls.
Cleaning and Caring for Your New Floor
Keeping your laminate floor in top condition is simpler than you might think. Regular cleaning is key to maintaining its shine and longevity. Start by sweeping or vacuuming with a soft brush attachment to get rid of dust and debris. For a deeper clean, use a damp mop with a gentle cleaner specifically designed for laminate. Avoid soaking the floor, as excess water can cause damage. For more tips, check out our guide on cleaning laminate floors.
Tips for Long-Term Maintenance
Long-term care of your laminate flooring involves a few simple practices. Here are some tips to keep your floor looking brand new:
- Place mats at entryways to trap dirt and moisture.
- Use furniture pads to prevent scratches.
- Avoid high heels or heavy shoes that might dent the surface.
Keeping a routine maintenance schedule will ensure your laminate floor stays beautiful for years. Simple habits like wiping up spills immediately and using protective mats can go a long way in preserving your floor's appearance.
Common Mistakes to Avoid
Even seasoned DIYers can stumble when laying laminate flooring. Here are some common blunders to watch out for:
Skipping the Underlayment
Skipping the underlayment is like building a house without a foundation. Underlayment is crucial for providing a smooth surface and acting as a moisture barrier. Without it, your floor might end up with a squeaky, uneven finish. Always choose the right type of underlayment for your subfloor and climate needs.
Ignoring Expansion Gaps
Laminate flooring needs room to expand and contract with temperature changes. Forgetting to leave expansion gaps can lead to buckling or warping over time. Make sure to leave a consistent gap of about ⅜ inch all around the room. Use spacers to maintain this gap as you lay each row.
Improper Cutting Techniques
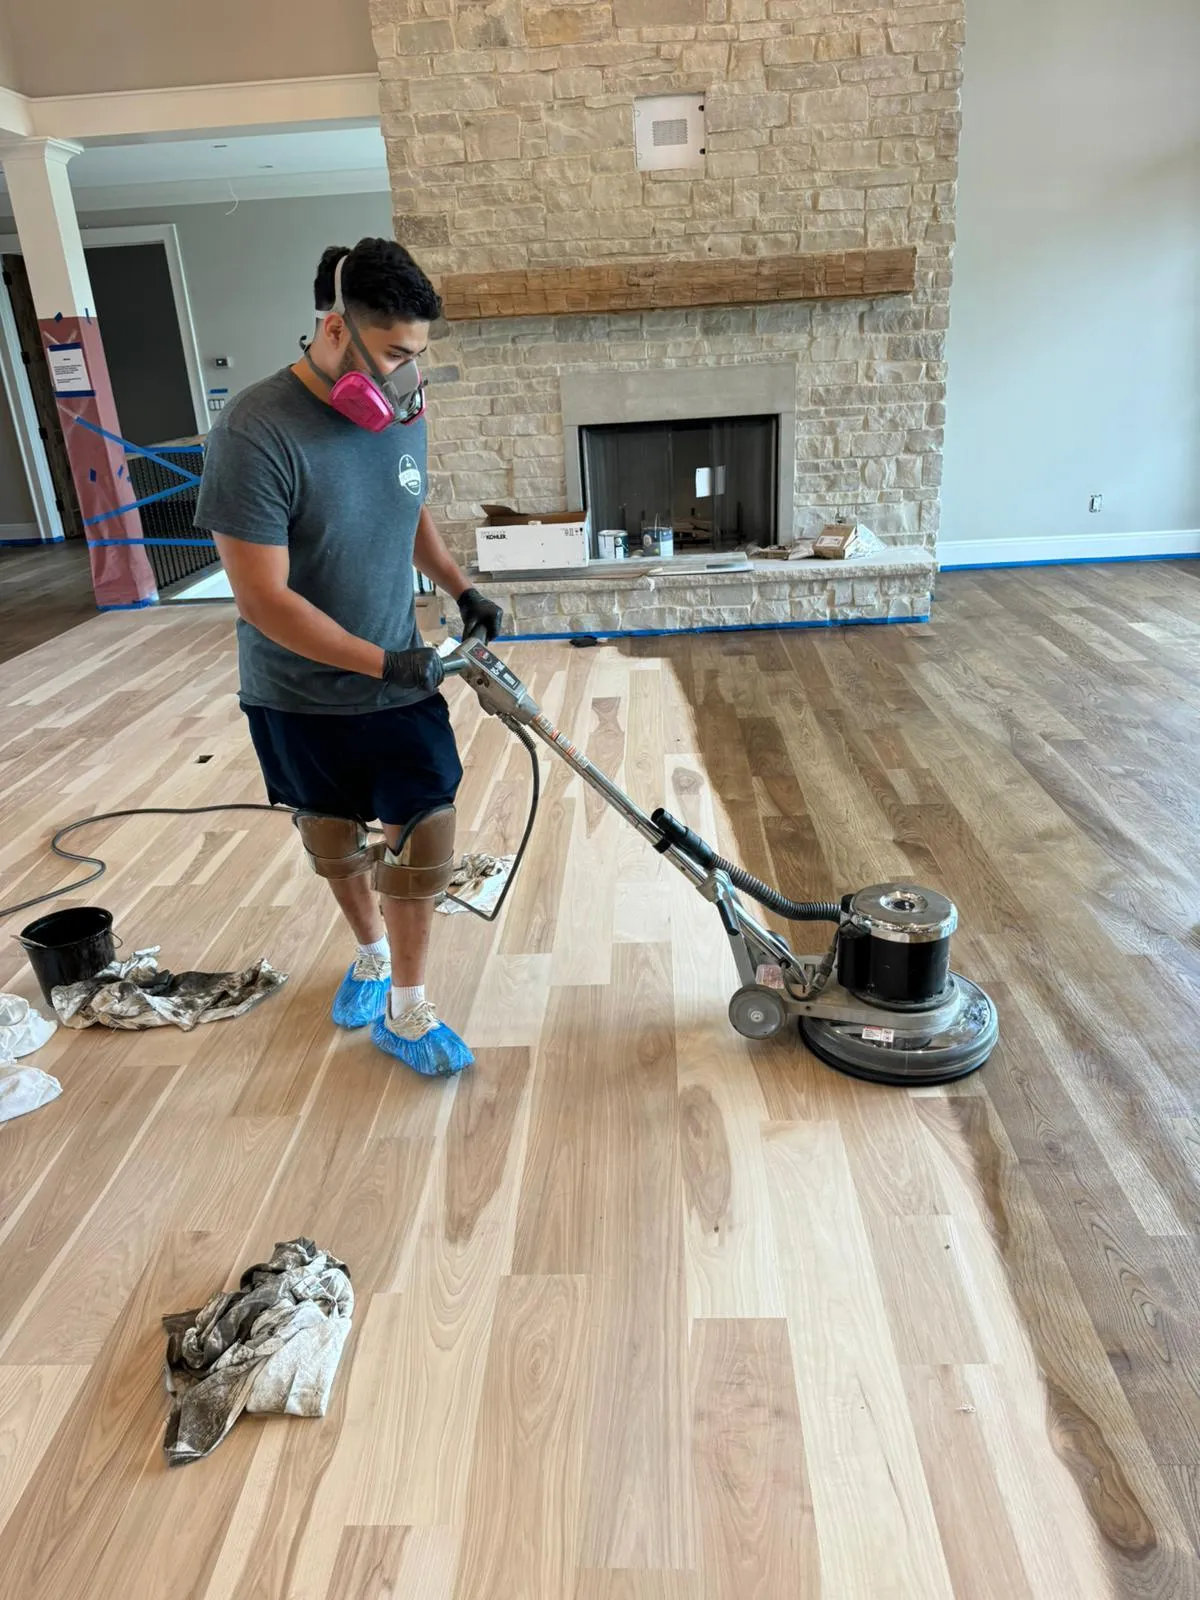
Using the wrong tools or techniques can result in jagged edges and poorly fitting planks. For straight cuts, a circular saw or table saw works best, while a jigsaw is ideal for intricate cuts around obstacles. Always keep your blades sharp and wear safety goggles to protect your eyes. If you're looking for a tool that minimizes floor damage, consider renting a Clarke-American Random Orbital Sander for a smooth finish.
When it comes to flooring, avoiding common mistakes can save you time and money. Many people overlook the importance of proper installation and maintenance, which can lead to costly repairs down the line. To ensure your flooring project goes smoothly, make sure to do your research and consult with professionals. For more tips and to schedule your flooring service, visit our website today!
Wrapping Up Your Laminate Flooring Project
So, there you have it! Laying laminate flooring might seem like a big task at first, but once you get the hang of it, it's pretty straightforward. Remember, starting with a solid plan and taking your time with the first few rows makes all the difference. Don't rush it—patience is key. By following these steps, you'll have a beautiful floor that not only looks great but also stands the test of time. Whether you're sprucing up a single room or tackling the whole house, you've got this. Now, go enjoy your new floors and the satisfaction of a job well done!