Mastering the Art of How to Deep Clean Hardwood Floors: Tips and Tricks for a Sparkling Finish
Understanding the Basics of Hardwood Floor Cleaning
Types of Hardwood Floors
When it comes to hardwood flooring, knowing what type you have is step one. Here are the main types:
Solid Hardwood: This is your classic wood floor, made from a single piece of wood. It's sturdy but doesn't love moisture.
Engineered Hardwood: Made of layers, this type is more adaptable to changes in humidity and temperature.
Laminate Flooring: A budget-friendly option that mimics real wood but is easier to maintain.
Each type needs a different cleaning routine, so it's important to know what you're working with.
Common Cleaning Mistakes
Cleaning hardwood floors might seem easy, but it's easy to slip up. Here are common mistakes to avoid:
Using Too Much Water: Water can seep into the wood and cause warping. Always use a damp mop, not a soaking one.
Harsh Chemicals: Strong cleaners might strip the finish or leave a residue. Stick to products made for wood floors.
Ignoring Manufacturer's Instructions: Always check what your floor's manufacturer recommends for cleaning.
Choosing the Right Cleaning Products
Picking the right cleaner is key. You don't want something too harsh that could damage the finish. Here are some tips:
Natural vs. Chemical Cleaners: Natural cleaners, like water and vinegar, are gentle and eco-friendly, but some finishes might not like them. Chemical cleaners can tackle tough stains but might be too strong for regular use.
Recommended Brands: Look for brands known for being safe on hardwood, like Bona or Murphy’s Oil Soap.
DIY Solutions: Mixing water with a bit of vinegar can work wonders, but always test it on a small area first.
Remember, keeping your floors clean isn't just about looks—it's about making them last. Regular maintenance and the right products can keep your floors looking great for years.
Step-by-Step Guide to Deep Clean Hardwood Floors

Pre-Cleaning Preparation
Before diving into the actual cleaning, set the stage for success. First off, clear the area of any furniture, rugs, or obstacles. This not only makes the cleaning process smoother but also ensures you won't miss a spot. Use felt pads under furniture legs to prevent scratches when moving them around. Next, grab a soft-bristled broom or a vacuum with a hardwood setting to sweep up loose dirt and debris. This step is crucial because even tiny particles can scratch the floor when you start mopping.
Effective Mopping Techniques
Now that your floor is prepped, it’s time to mop. Always opt for a microfiber mop—it’s gentle on the wood and great at picking up grime. Dip the mop into a suitable cleaning solution, ideally one recommended by your floor's manufacturer, and wring it out until it’s just damp. Excess water is your enemy; it can warp and damage the wood. Mop in the direction of the wood grain for the best results. If you encounter stubborn spots, apply a bit of elbow grease or use a cleaning pad.
Post-Cleaning Care
After mopping, drying is just as important. Use a dry microfiber cloth or mop to soak up any remaining moisture. This step is crucial to avoid water seeping into the seams, which can cause damage. You can speed up drying by using fans or a ceiling fan. Once dry, consider buffing the floor with a soft cloth to bring out its natural shine. This not only makes your floor look good but also prepares it for professional maintenance services if needed in the future.
Keeping your hardwood floors clean isn’t just about appearance—it’s about protecting your investment. Regular maintenance not only enhances the look of your floors but also preserves their structural integrity over time. For more insights on maintaining your wood floors, consider exploring expert tips and solutions for flooring.
Natural Cleaning Solutions for Hardwood Floors
Using Vinegar and Water
Vinegar is like the go-to tool in your cleaning kit—it's cheap and does the job well. To make a basic cleaner, mix one cup of white vinegar with a gallon of warm water. This solution can tackle dirt and germs without leaving a sticky residue. But remember, don't soak your mop; it should be damp, not dripping, to avoid damaging the wood.
Essential Oils for Added Freshness
If you want your floors to smell as good as they look, essential oils are your friend. Add a few drops of lemon or lavender oil to your vinegar solution. These oils not only make your home smell amazing but also have natural antibacterial properties. It's like giving your floors a spa day.
Benefits of Natural Disinfectants
Why go natural? For starters, natural disinfectants are easier on your floors and better for the environment. They help keep the wood looking its best without leaving behind harsh chemical residues. Plus, they're safer for kids and pets who love to play on the floor.
Using natural cleaning methods not only keeps your floors sparkling clean but also creates a healthier home environment. It's a win-win for your family and the planet.
Maintaining the Shine and Longevity of Hardwood Floors

Regular Dust Mopping
Dust mopping is a simple yet effective way to keep your hardwood floors looking their best. Use a microfiber mop to capture dust and dirt particles that can dull the shine. Aim to dust mop daily, especially in areas with heavy foot traffic. This routine not only helps maintain the shine but also prevents scratches caused by debris.
Polishing and Buffing Tips
Polishing your floors every few months can significantly enhance their appearance. Choose a polish specifically designed for hardwood floors to avoid residue buildup. Here’s a quick polishing guide:
Clean the floor thoroughly to remove any dust or dirt.
Apply the polish in small sections using a clean microfiber cloth.
Gently buff the area with a dry cloth to bring out the shine.
Allow the floor to dry completely before stepping on it.
This process not only revives the shine but also adds a protective layer to the floor.
Long-Term Care Strategies
For hardwood floors that last, prevention is key. Here are some strategies:
Use rugs or mats in entryways and high-traffic areas to catch dirt and moisture.
Attach felt pads under furniture legs to prevent scratches.
Maintain a consistent indoor humidity level to prevent the wood from expanding or contracting.
Regular maintenance is crucial for hardwood floors. By following these steps, you can enjoy beautiful, shiny floors for years. If you're unsure about any part of the process, Cedar Oak Flooring offers expert floor maintenance services to help preserve your floors' beauty and longevity.
Preventing Damage While Cleaning Hardwood Floors
Avoiding Excess Moisture
Moisture is the nemesis of hardwood floors. Too much water can seep into the wood, leading to warping or even rot over time. When cleaning, always use a damp mop—not a soaking wet one. The mop should be just moist enough to lift dirt without leaving puddles. After mopping, immediately dry the floor with a clean, dry cloth to prevent any damage.
Protecting the Floor Finish
The finish on your floor acts like a shield, protecting it from scratches and stains. To keep this layer intact, steer clear of harsh chemicals or abrasive scrubbers. Instead, use gentle cleaning solutions specifically made for hardwood. If you’re in Middlefield, Ohio, consider consulting Cedar Oak Flooring for expert advice on maintaining your floor's finish. They offer professional services that ensure your floors stay beautiful and durable.
Safe Cleaning Practices
Safety first! When cleaning your hardwood floors, always test new products on a small, hidden area to ensure they don't cause discoloration or damage. Stick with products labeled as safe for hardwood. Avoid steam cleaners; the heat and moisture can cause the wood to swell and warp. Regular dust mopping also helps keep your floors in good condition by removing dirt and debris that can scratch the surface.
Regular maintenance is crucial for hardwood floors. By following these steps, you can enjoy beautiful, shiny floors for years. If you're unsure about any part of the process, Cedar Oak Flooring offers expert floor maintenance services to help preserve your floors' beauty and longevity.
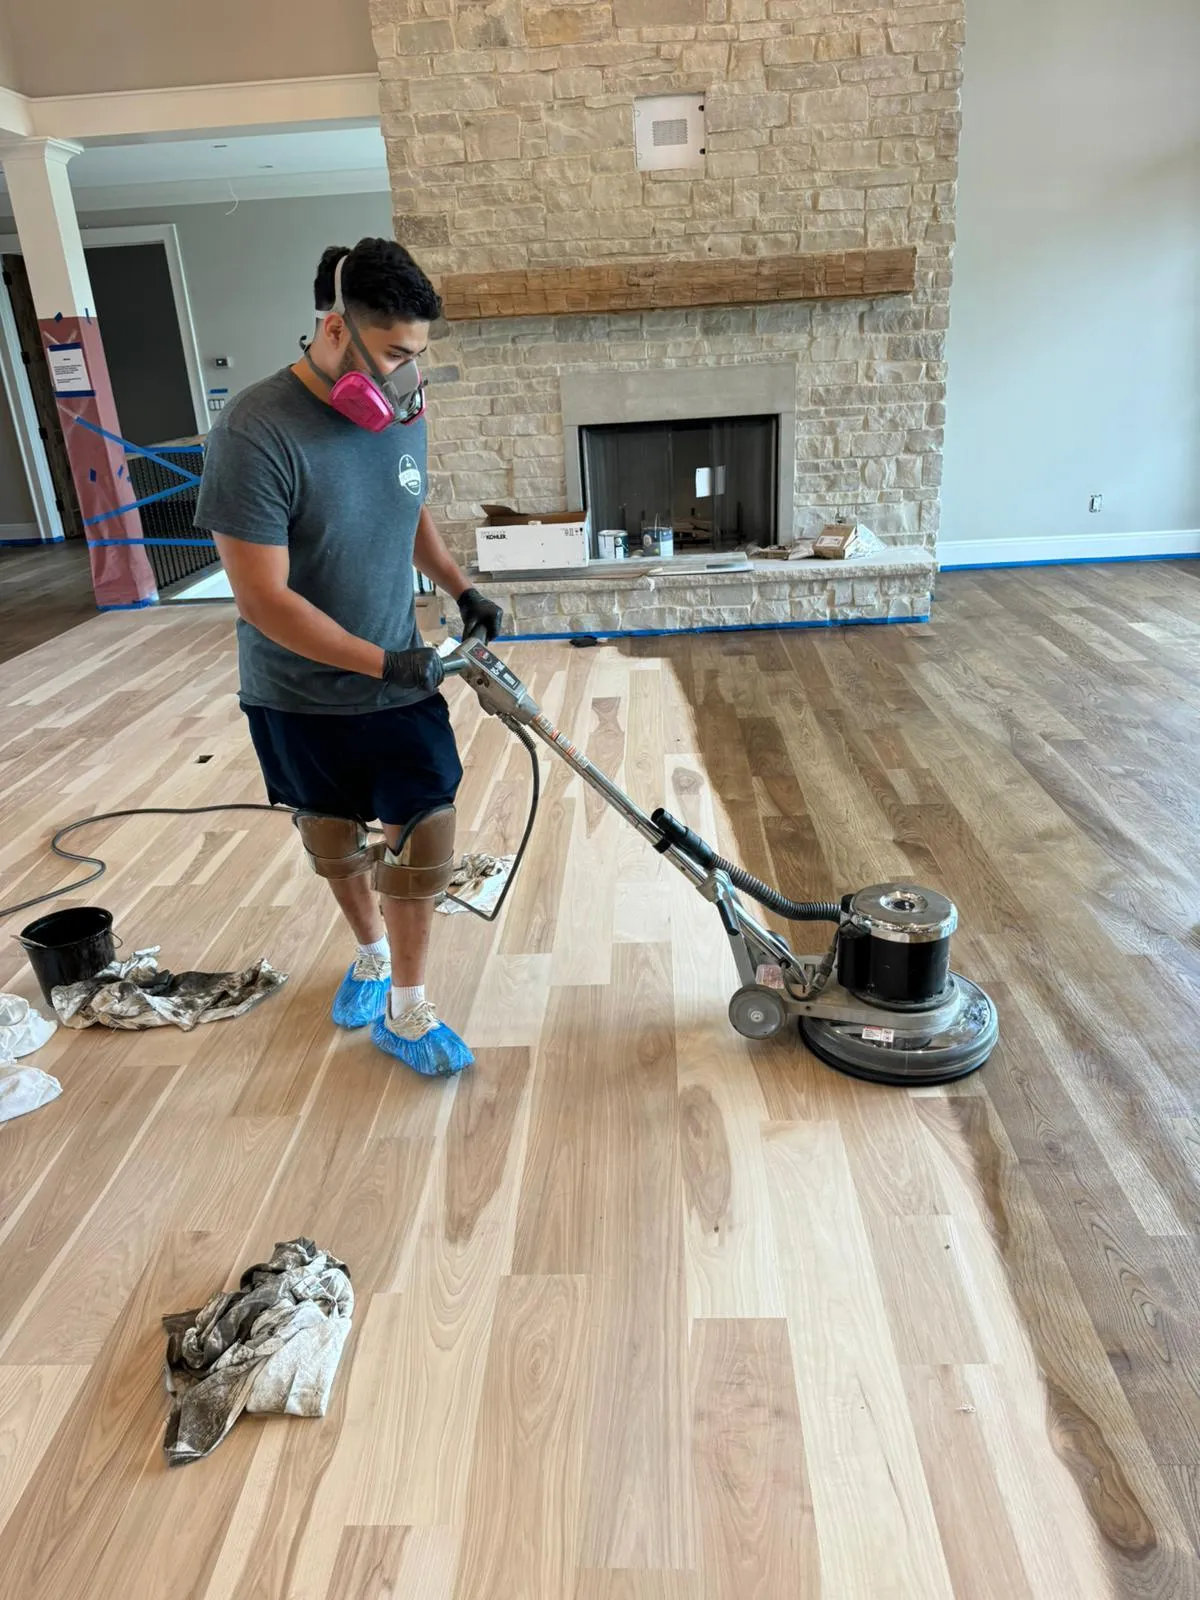
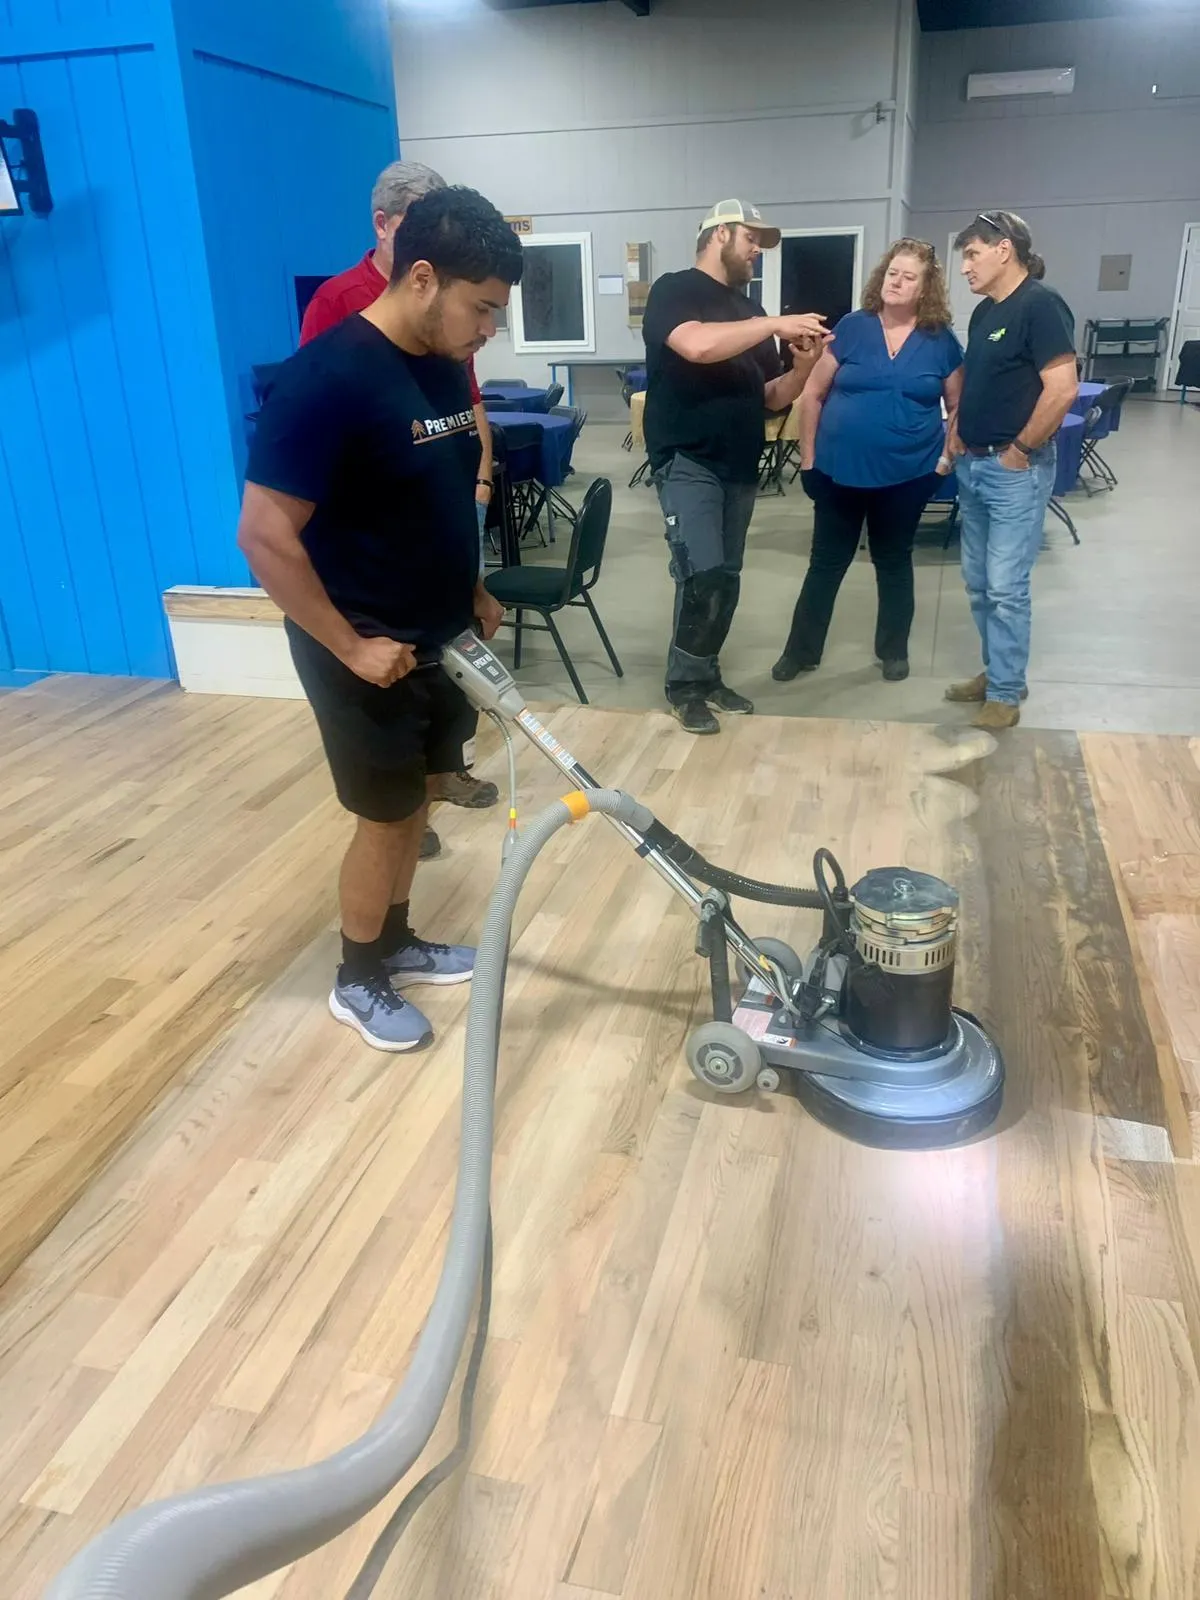
For those stubborn scratches or when the wax build-up gets too much, consider using a Clarke-American Random Orbital Sander. It's a user-friendly tool that can help smooth out your floors without causing swirl marks. Plus, it’s available for rental, making it a cost-effective solution for occasional use.
Mastering the Art of Waxing Hardwood Floors
Selecting the Best Wax for Your Floors
When it comes to waxing hardwood floors, choosing the right wax is crucial. You have two main options: paste wax and liquid wax. Paste wax is known for its durability and gives a rich, deep shine, making it ideal for areas with heavy foot traffic or older floors that need extra care. Liquid wax, on the other hand, is easier to apply and dries quickly, which is perfect for routine maintenance.
Consider your wood type and the existing finish before selecting a wax. If you're unsure, test a small patch in an inconspicuous area. This step is essential to ensure compatibility and achieve a long-lasting shine.
Step-by-Step Waxing Techniques
Waxing isn't just about slapping on a layer. It's a process that requires patience and a bit of elbow grease. Here’s how to do it:
Clean Thoroughly: Start by sweeping or vacuuming the floor to remove all dust and dirt.
Test the Wax: Apply a small amount in a hidden spot to ensure it works well with your floor.
Apply the Wax: Use a cloth or a wax applicator to spread the wax thinly and evenly. Work in small sections, following the wood grain.
Buff the Floor: Once the wax dries, buff the floor with a clean cloth or a floor buffer to bring out the shine.
Repeat if Necessary: Depending on the floor’s condition, a second coat might be needed.
When to Reapply Wax
Knowing when to reapply wax can be tricky, but a good rule of thumb is every six months. If you notice the shine fading sooner, don't hesitate to give it a touch-up. High-traffic areas might need more frequent applications. Regular waxing not only enhances the shine but also adds a protective layer, prolonging the life of your floors.
Consistent care is the key to maintaining the beauty of your wood floors. It's not just about keeping them clean but also about protecting them from the wear and tear of daily life. For those in Middlefield, Ohio, Cedar Oak Flooring offers expert hardwood flooring care services, ensuring your floors remain a stunning feature of your home for years to come.
Troubleshooting Common Hardwood Floor Issues
Dealing with Scratches and Scuffs
Scratches and scuffs are inevitable on wood floors, especially in high-traffic areas. But don't worry, they're not a disaster. For minor scratches, grab a touch-up stick or a wax crayon that matches your floor's color. Simply fill in the scratch and gently buff it with a soft cloth. For deeper scratches, lightly sand the area with fine-grit sandpaper, then reapply some wax. Scuffs, meanwhile, can often be removed with a soft cloth and a bit of elbow grease. If they're stubborn, try using a dab of baking soda on a damp cloth.
Addressing Wax Build-Up
Even if you're careful, wax can accumulate over time, leaving your floor looking dull and sticky. If you notice this, it's time to tackle the excess wax. Start by applying a wax remover or a mild solvent recommended for wood floors. Work in small sections, using a soft cloth to gently lift the build-up without damaging the wood. Make sure to follow the product instructions carefully. Once the excess wax is gone, clean the floor thoroughly and let it dry completely before applying a fresh, thin coat of wax.
Enhancing Floor Longevity
Discoloration is a pesky issue, often caused by too much sun, moisture, or the wrong cleaning products. To keep your floors looking their best, use only pH-neutral cleaners made for wood floors. Place rugs or mats in sunny spots and move them around regularly to avoid uneven fading. If you see discolored spots, it might be time to strip the old wax and put on a new coat. For more severe cases, sanding the affected area and reapplying the finish might be necessary.
Keeping your wood floors in top shape is about addressing issues as soon as they pop up. Regular maintenance not only keeps them looking great but also extends their life. Remember, your floors are a big part of your home’s charm and value, so it’s worth the effort to keep them in good condition.
For those stubborn scratches or when the wax build-up gets too much, consider using a Clarke-American Random Orbital Sander. It's a user-friendly tool that can help smooth out your floors without causing swirl marks. Plus, it’s available for rental, making it a cost-effective solution for occasional use.
If you're facing issues with your hardwood floors, don't worry! Many common problems can be fixed easily. Visit our website for helpful tips and solutions to keep your floors looking great. Let us help you maintain the beauty of your home!
Conclusion
So there you have it, folks. Keeping your hardwood floors looking their best isn't rocket science, but it does take a bit of effort and know-how. Regular dusting, the right cleaning products, and a little elbow grease can go a long way. Remember, prevention is key—use mats, keep those pet nails trimmed, and avoid excess water. With these tips, your floors will not only shine but also stand the test of time. And if you're ever in doubt, don't hesitate to call in the pros. Happy cleaning!