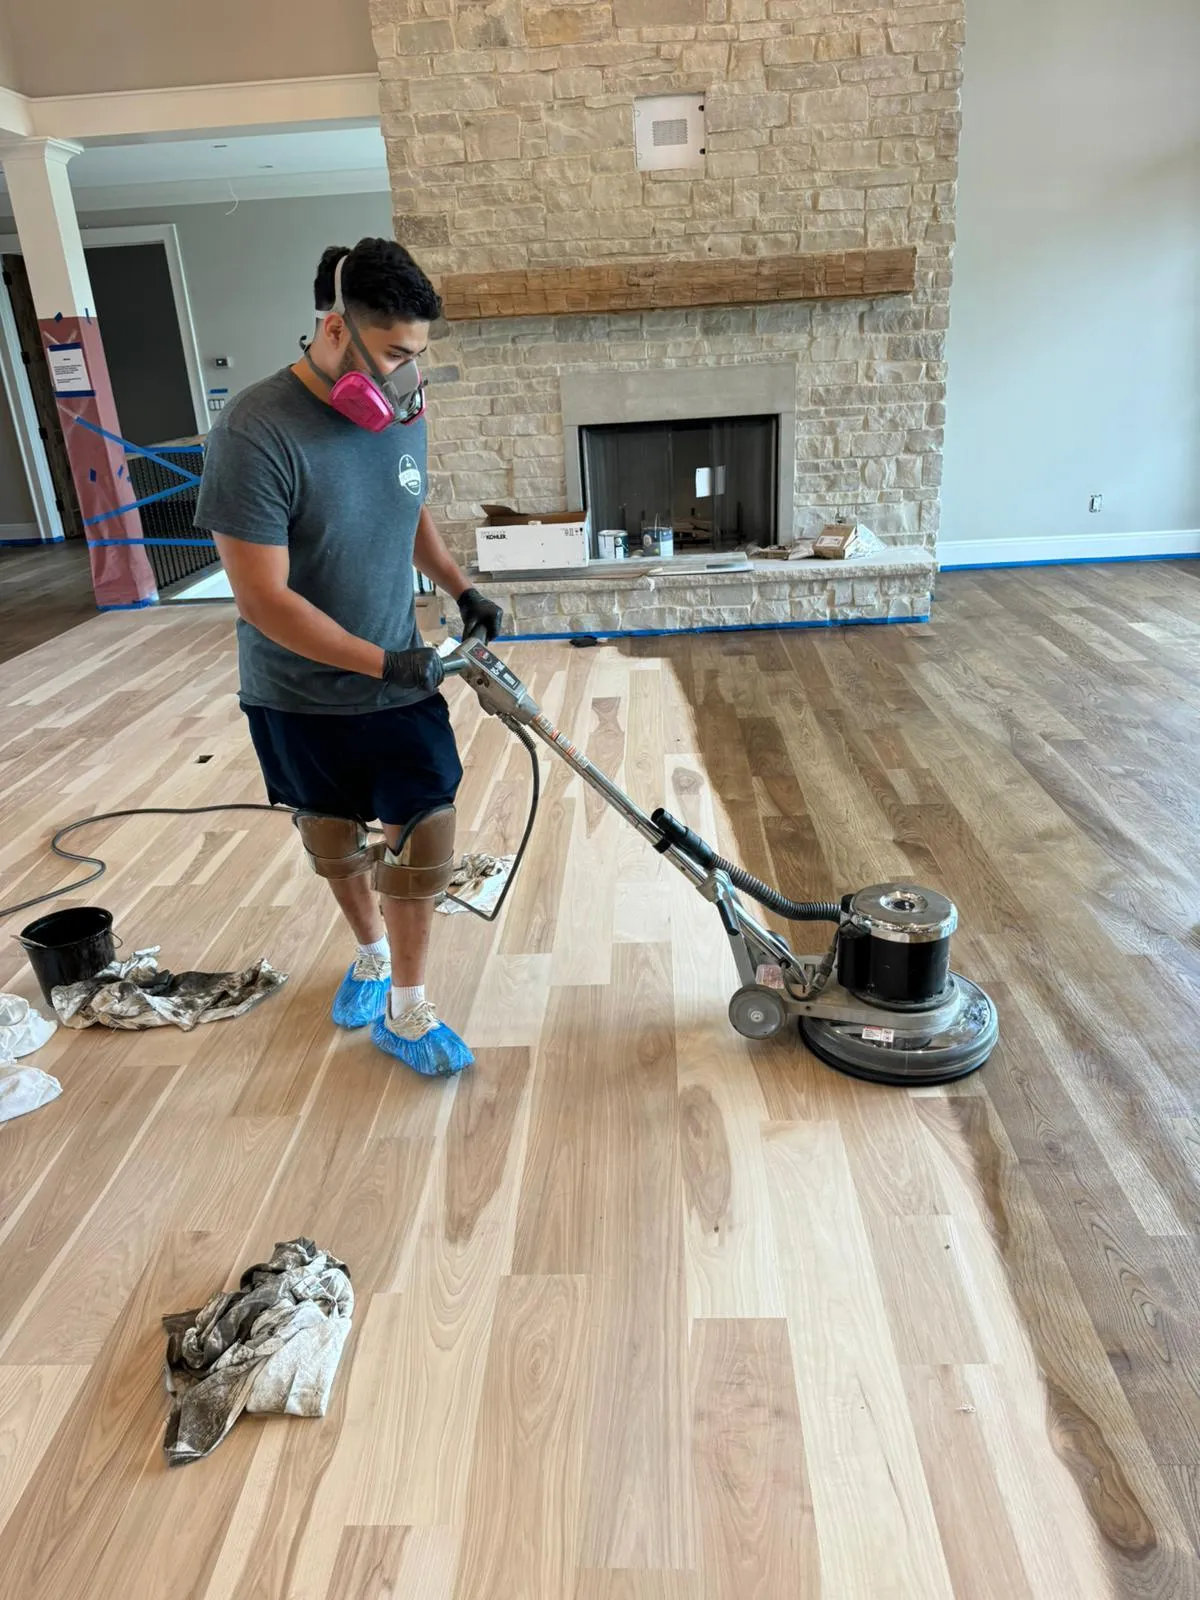
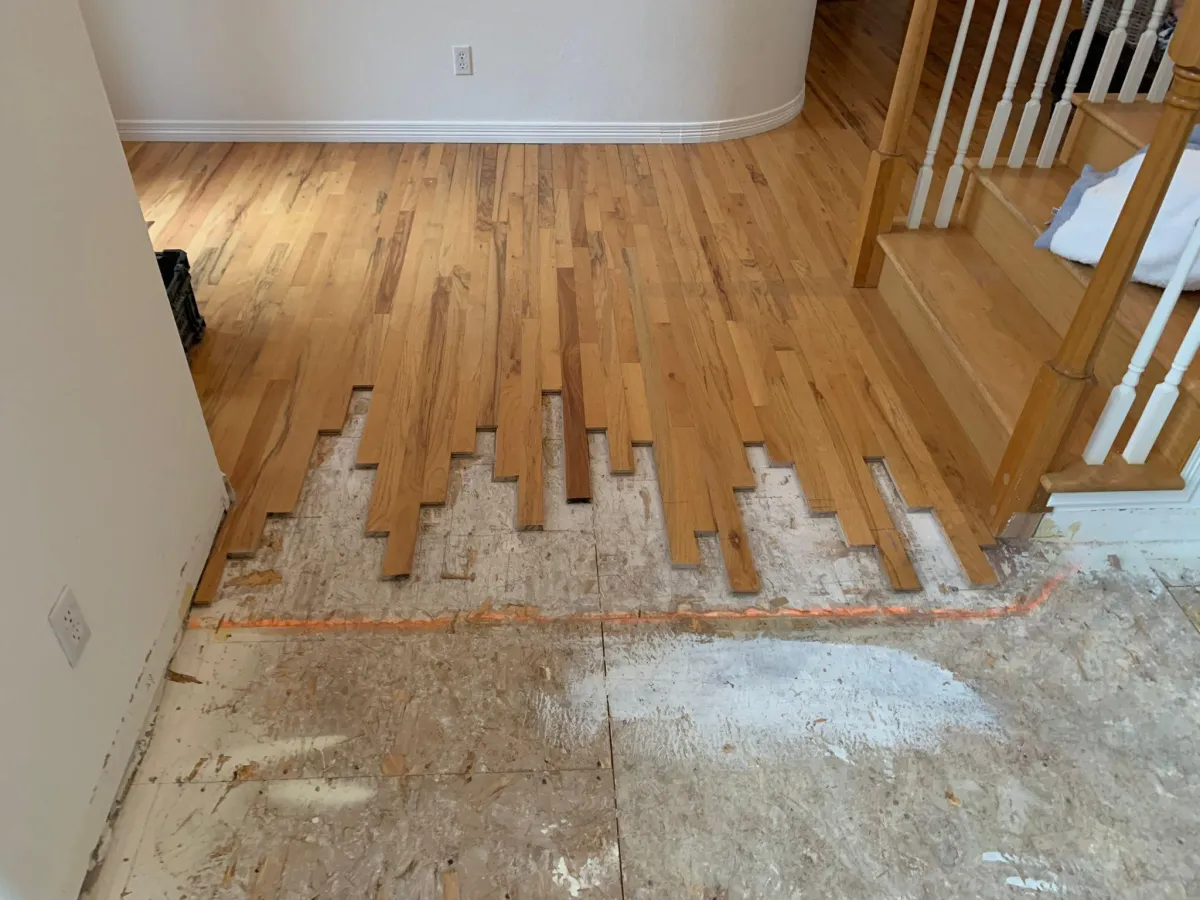
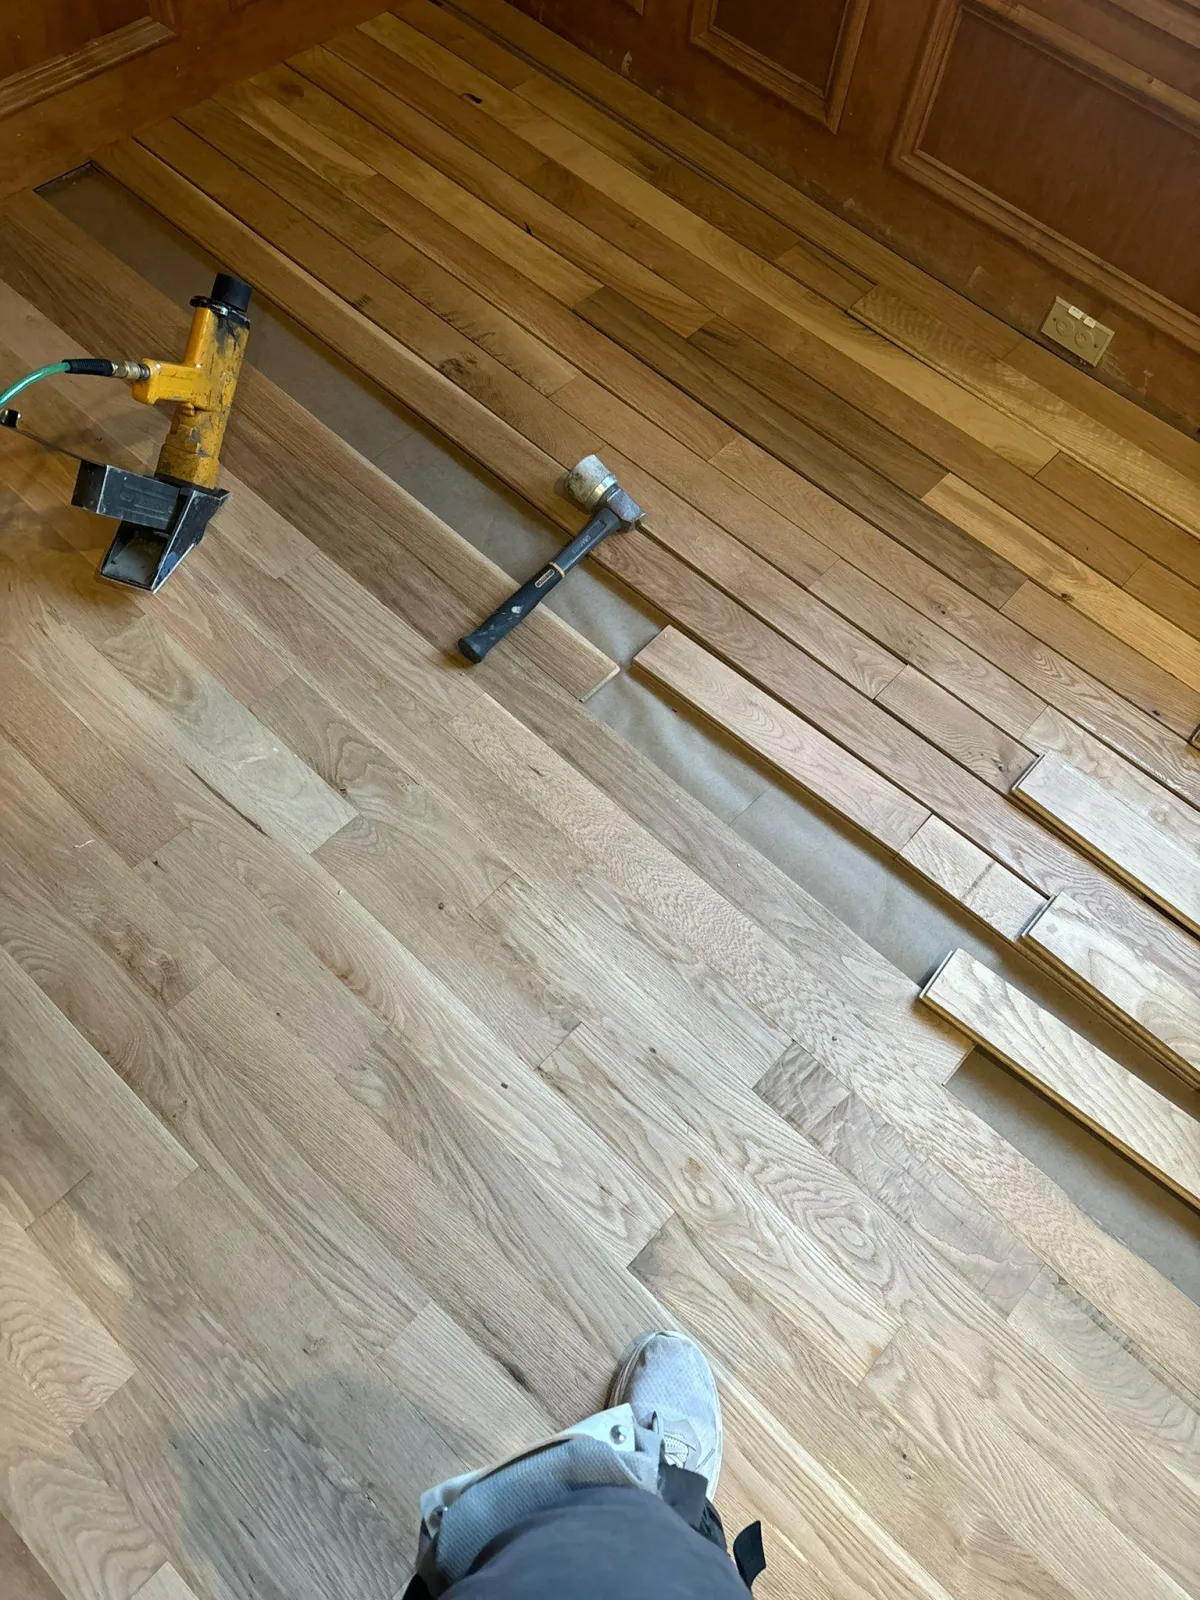
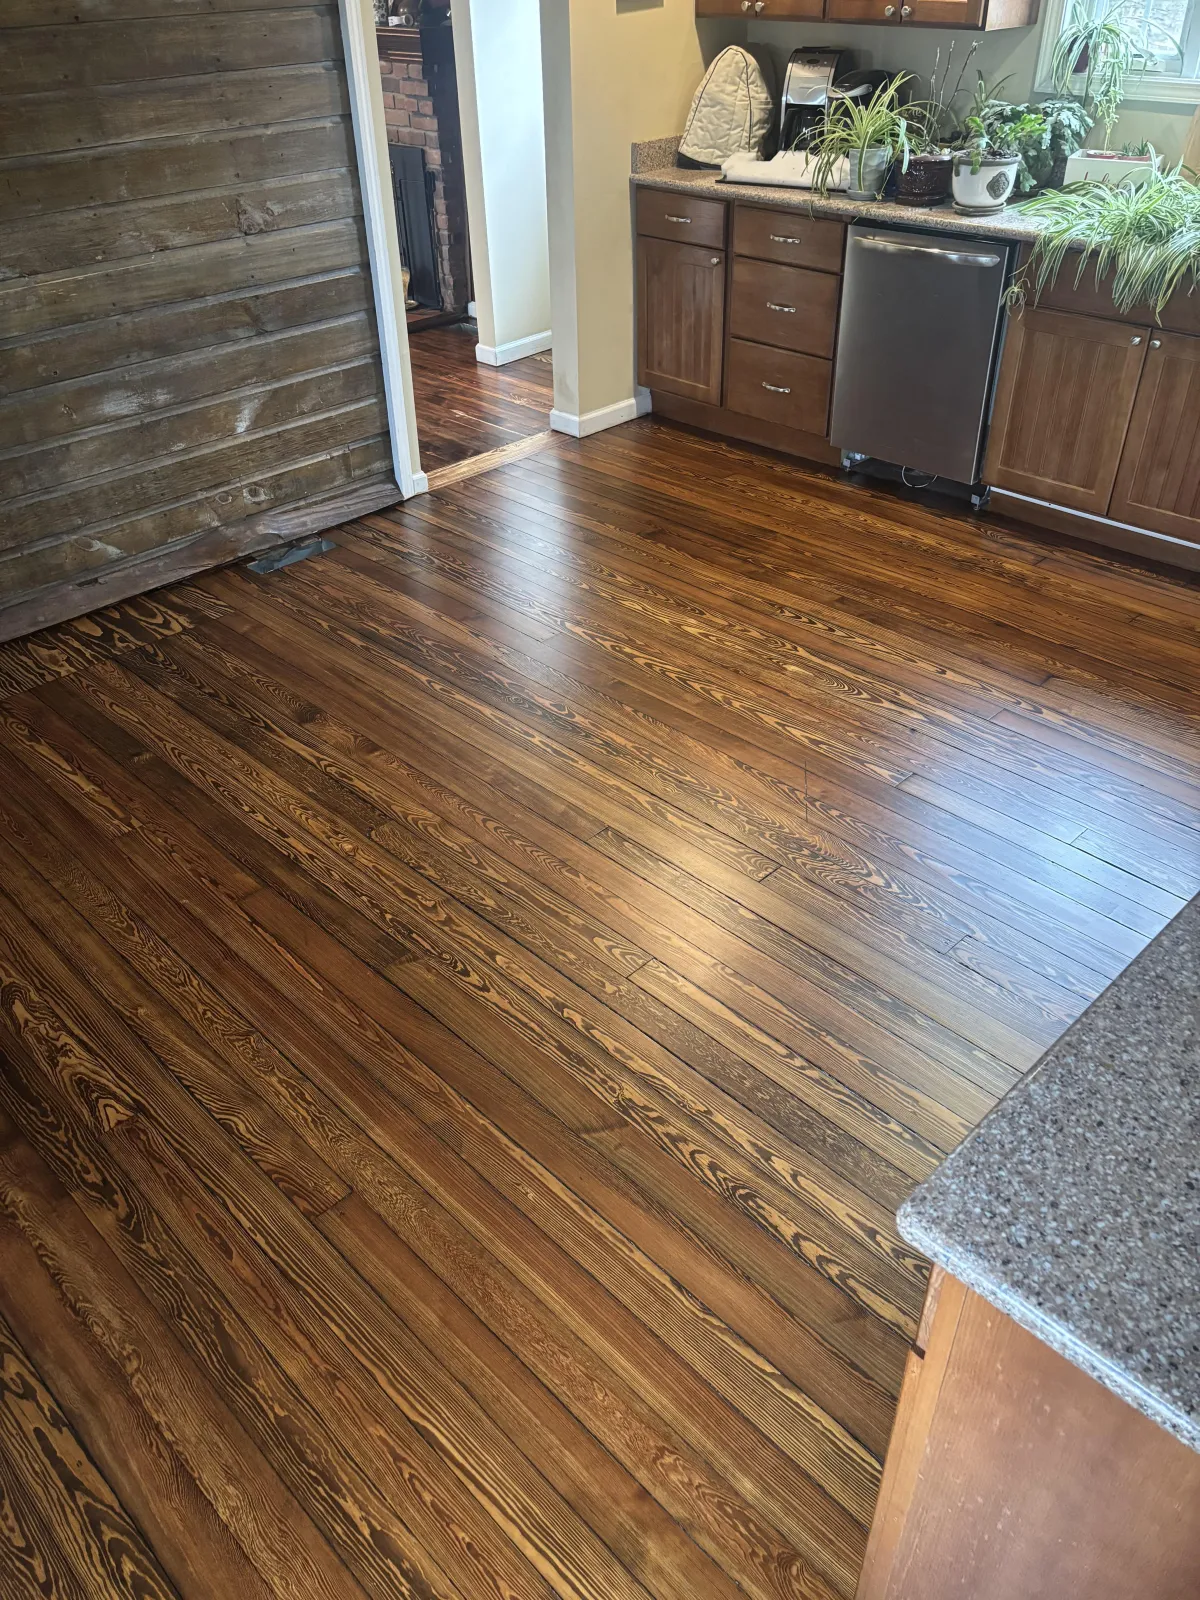
Craftsman laying laminate flooring with precision.

Mastering the Art: How to Lay Laminate Flooring Pattern Like a Pro

January 02, 20250 min read

Choosing the Right Laminate Flooring for Your Space

Understanding Different Types of Laminate Flooring

Laminate flooring has become a go-to choice for many homeowners because it can mimic the look of more expensive materials like wood and stone without the hefty price tag. There are three main types to consider:

  1. Wood-look Laminate: This type gives you the classic appearance of hardwood. It comes in various grain patterns and shades, making it a versatile option for any room.
  2. Tile-look Laminate: If you love the look of ceramic or stone tiles, this is your pick. It offers a modern and sleek finish.
  3. Specialty Designs: For those wanting something unique, there are laminate options that replicate natural stones or even abstract patterns.

Understanding these options helps you pick a laminate that not only fits your budget but also enhances your home's aesthetic.

Factors to Consider When Selecting Laminate Flooring

When choosing laminate flooring, it's crucial to think about your home's existing décor. Consider the colors and styles of your furniture and walls. Opt for a laminate that complements these elements for a cohesive look. Here are some key points:

  • Durability: Choose a laminate that can withstand the wear and tear of your household, especially in high-traffic areas.
  • Ease of Maintenance: Laminate is generally easy to clean, but some finishes might hide dirt better than others.
  • Cost: While laminate is typically cheaper than hardwood, prices can vary. Set a budget and stick to it.

Benefits of Laminate Flooring Over Other Materials

Laminate flooring offers several advantages over traditional materials:

  • Affordability: It’s a budget-friendly option, especially if you're looking to cover a large area without spending a fortune.
  • Durability: Designed to resist scratches and stains, laminate is perfect for busy households.
  • Easy Installation: Many homeowners choose to install it themselves thanks to its simple click-lock design.
Laminate flooring is a practical choice for those wanting style without the high cost. Its versatility and ease of installation make it a favorite among DIY enthusiasts.

By understanding the different types and benefits of laminate flooring, you can make an informed choice that suits both your style and practical needs. For those in Middlefield, Ohio, considering expert flooring services can further enhance your home's appeal.

Preparing Your Room for Laminate Flooring Installation

Clearing and Cleaning the Space

Before you even think about laying down those beautiful laminate planks, you need to make sure your room is ready for action. Start by moving all furniture and rugs out of the way. This might seem like a hassle, but trust me, you'll thank yourself later when you have a clear, open space to work in. Once everything's out, it's time to tackle the subfloor. Sweep away any dust and debris, and make sure the surface is smooth and level. If you find any bumps or dips, now's the time to fix them. A flat base is crucial for a successful installation.

Measuring and Planning the Layout

Next up, grab your tape measure because it's time to get precise. Measure the length and width of the room, and don't forget to jot down these numbers. You'll want to add about 10% extra to your laminate order to account for any mistakes or future repairs. Planning the layout is also key. Consider how you want the planks to run—usually parallel to the longest wall. This not only looks good but can also make the room feel bigger.

Gathering Essential Tools and Materials

Got your measurements? Great! Now let's talk tools. You'll need a few essentials to get the job done right. A jigsaw or miter saw is perfect for cutting planks to size. A rubber mallet and a pull bar will help you fit the planks snugly without damaging them. Don't forget spacers to maintain an expansion gap around the room's perimeter. And of course, you'll need the underlayment, which acts as a moisture barrier and sound reducer. Having the right tools not only makes the job easier but also gives you a more professional finish.

Preparing your room might seem like a lot of work, but it's the foundation for a smooth installation process. Skimping on this step could lead to headaches down the line. It's like trying to bake a cake without preheating the oven—it just won't turn out right.

For those who'd rather not DIY, consider reaching out to professionals like Cedar Oak Flooring, who specialize in high-quality flooring installation. Their expertise and attention to detail can save you time and ensure a flawless finish.

Step-by-Step Guide to Laying Laminate Flooring

Laying the Underlayment Properly

Before you even think about laying down those laminate planks, you've got to set the stage right with the underlayment. Think of it as the unsung hero of your flooring project—it absorbs sound and acts as a moisture barrier. Start by making sure your subfloor is clean and dry. Roll out the underlayment in strips, making sure to overlap the edges a bit. Use a utility knife to trim any excess. Remember, this layer is crucial for a smooth finish.

Installing the First Row of Planks

Alright, now onto the fun part—laying down the first row. Begin along the longest wall for a balanced look. Use spacers to keep a small gap between the planks and the wall, which allows for any expansion. Pro tip: Start with the tongue side facing the wall. Use a tapping block and rubber mallet to gently lock the planks together. If your first row isn't straight, the whole floor will be off, so take your time here.

Continuing the Installation Process

Once you've got that first row down, the rest is all about rhythm. Keep laying planks by angling the tongue into the groove of the previous row and lowering them into place. Use the tapping block to make sure everything's snug. Stagger the seams for a more natural look and to add strength to the floor. If you hit any snags or need to cut planks to fit, a fine-tooth saw is your best friend. Keep an eye out for gaps or misalignments as you go along.

Laying laminate flooring is like piecing together a giant puzzle. It takes patience and precision, but the end result is totally worth it. Just imagine walking barefoot across that smooth, new floor—it's a little slice of home improvement heaven.

For more detailed guidance on tools and techniques, check out our expert flooring services in Middlefield, Ohio.

Advanced Techniques for Laying Laminate Flooring Patterns

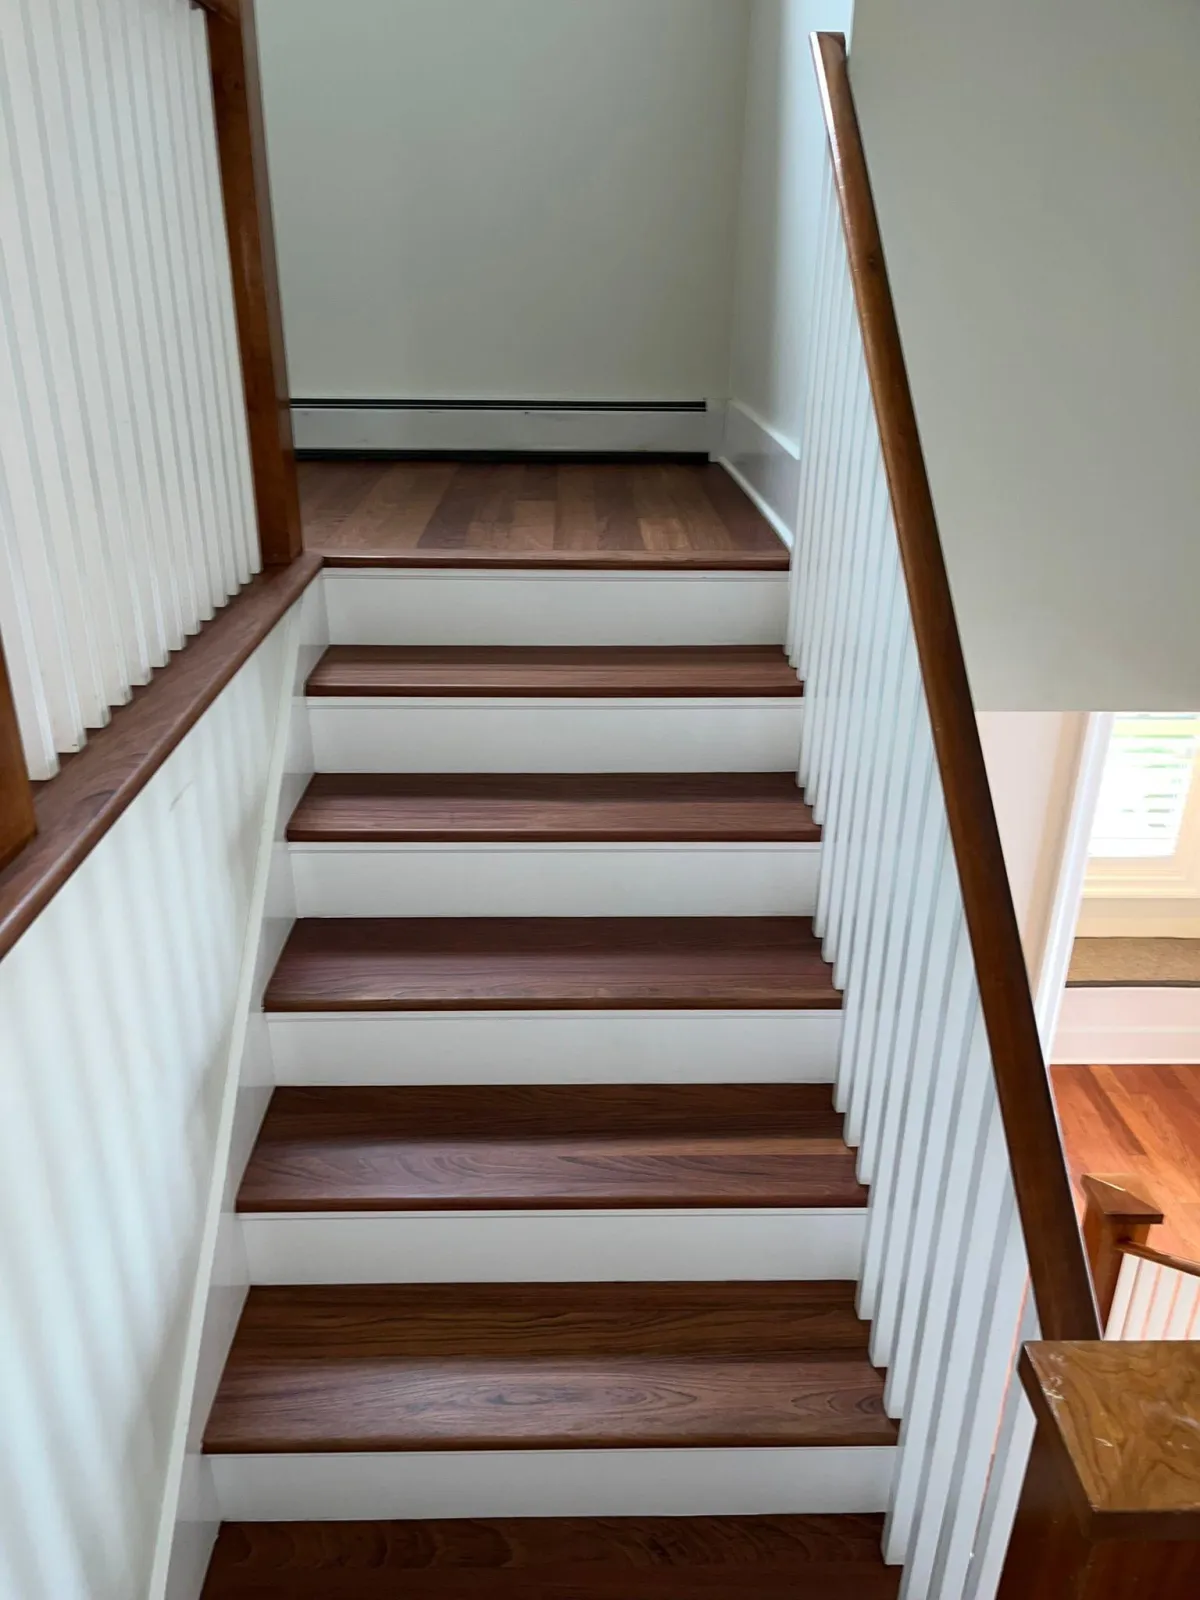
Close-up of expertly laid laminate flooring patterns.

Creating Intricate Patterns with Laminate

Want your laminate flooring to stand out? Consider crafting intricate patterns. A classic choice is the herringbone design, which adds a timeless elegance to any room. Alternatively, the chevron pattern offers a more modern vibe. To start, you'll need to carefully plan your layout. Make sure to follow the manufacturer's instructions for cutting and installing the planks. This attention to detail will ensure your pattern looks as good as you imagined.

Incorporating Different Flooring Styles

Mixing different flooring styles can create a bold statement. You might combine laminate with tiles or even hardwood for a unique look. When doing this, it's crucial to choose materials that complement each other. Pay special attention to the transition areas to keep the overall look smooth and cohesive.

Embracing Unique Installation Methods

If you're feeling adventurous, try unique installation methods. Instead of the usual horizontal or vertical layouts, why not place your planks diagonally? This can turn your floor into a focal point of the room. Play around with different layouts and get inspired by consulting experts or online resources.

By embracing these advanced techniques, your laminate flooring can transform into a true work of art, reflecting your personal style and creativity.

For those looking to take their flooring to the next level, these techniques offer a chance to showcase your creativity and make a real impact in your home. And remember, if you're planning to sand your floors before installation, consider using a Clarke-American Random Orbital Sander to ensure a smooth finish with no swirl marks.

Finishing Touches for a Professional Look

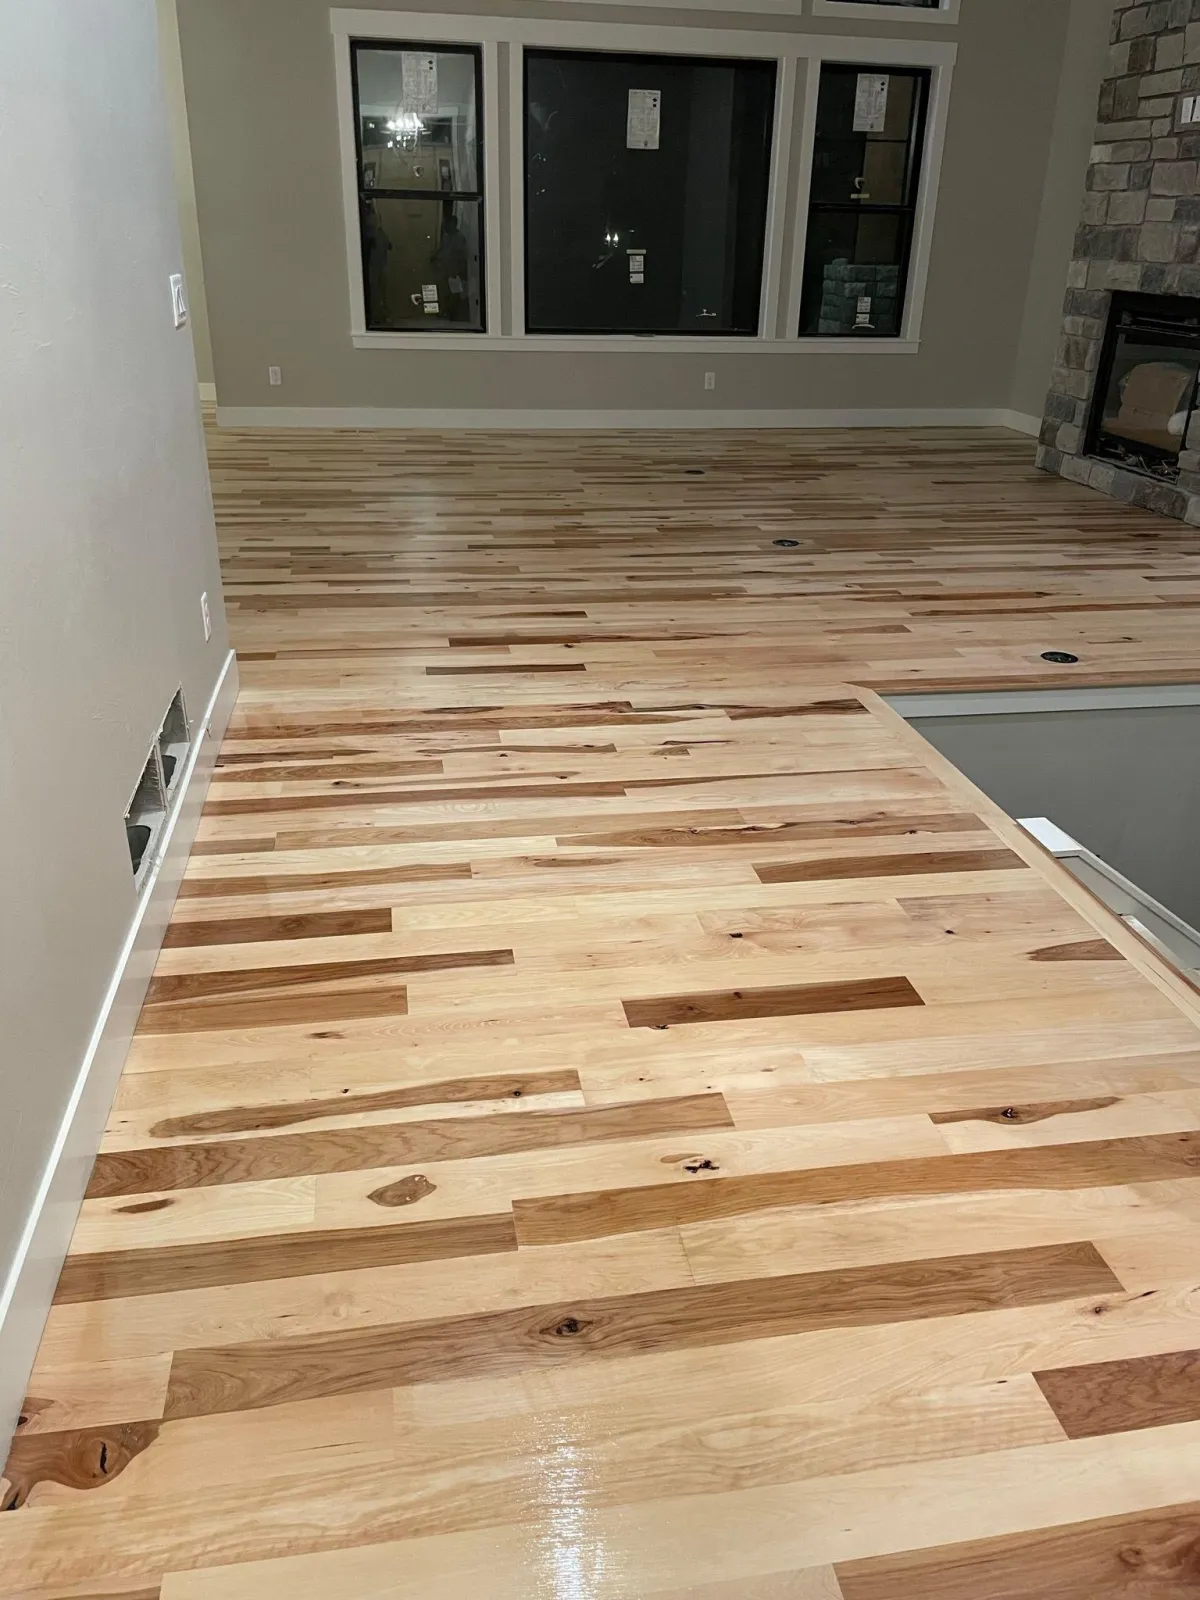
Close-up of expertly laid laminate flooring pattern.

Installing Trim and Moldings

After laying your laminate flooring, the next step is installing trim and moldings. These elements not only cover the expansion gaps but also give your floor a polished finish. Start by choosing moldings that match or complement your flooring color. You can go for quarter rounds or baseboards, depending on the look you want. Ensure that the moldings are securely attached to avoid any movement or gaps over time. A nail gun can be handy for this task, providing a clean and firm installation.

Handling Transition Strips and Doorways

Transition strips are essential when your laminate flooring meets other types of flooring, like tile or carpet. They ensure a smooth and safe transition between different surfaces. Measure the doorway width carefully before cutting the transition strip to fit perfectly. Use a strong adhesive to secure the strip in place, ensuring it lies flat and doesn't pose a tripping hazard.

Final Inspection and Clean-Up

Once everything is installed, it's time for a final inspection. Walk through the entire area to check for any loose planks, gaps, or uneven edges. Address these issues promptly to maintain the floor's integrity. After inspection, a thorough clean-up is crucial. Sweep and vacuum to remove any dust or debris. A slightly damp mop can be used for a final touch, but avoid excessive moisture. By following these steps, your laminate flooring will not only look great but also stand the test of time.

Maintaining Your Laminate Flooring for Longevity

Regular Cleaning and Care Tips

Keeping your laminate floors looking fresh is easier than you might think. Routine cleaning is the key. Start with a simple sweep using a soft-bristle broom to gather up dust and dirt. For a deeper clean, grab a microfiber mop that's slightly damp. Be cautious, though—too much water can cause trouble. Stick to cleaners that are made for laminate floors to avoid any damage.

Here's a quick checklist to keep your floors in tip-top shape:

  • Sweep regularly to prevent scratches.
  • Use a damp mop for a deeper clean.
  • Avoid harsh chemicals.
  • Wipe up spills immediately.

Preventative Measures to Avoid Damage

A few easy habits can save your laminate floors from wear and tear. First, put felt pads under your furniture legs to stop scratches. If you've got pets, keep their nails trimmed. And here's a big one: avoid walking on your floors with shoes, especially high heels. It's surprising how much damage they can do!

Consider these preventative steps:

  • Use felt pads under furniture.
  • Trim pet nails regularly.
  • Keep shoes off the floors.

When to Seek Professional Maintenance

Sometimes, despite your best efforts, your floors might need a professional touch. If you notice significant wear or damage, it might be time to call in the experts. They can handle repairs and give your floors a thorough cleaning that goes beyond what you can do at home.

Don't wait until it's too late—regular professional maintenance can extend the life of your floors and keep them looking their best.

By following these simple tips, your laminate flooring will stay beautiful and last for years. Remember, a little effort goes a long way in keeping your floors in great shape.

To keep your laminate flooring looking great for years, regular care is key. Simple steps like sweeping, mopping, and using the right cleaning products can make a big difference. For more tips and expert help, visit our website today!

Conclusion

So there you have it, folks! Laying laminate flooring isn't just about getting the job done—it's about doing it with style and precision. With the tips and tricks we've shared, you're all set to tackle your flooring project like a pro. Remember, patience is key. Take your time, measure twice, and cut once. And don't forget to enjoy the process! After all, transforming your space into something beautiful is what it's all about. Happy flooring!

Back to Blog

LOCATION

Cedar Oak Flooring

Middlefield, Ohio 44062

16023 pierce st middlefield ohio 44062

Main Office: (440) 298-2866

HOURS

Weekdays: 8-5

Weekends: On Call

EMERGENCY SERVICE AVAILABLE

QUICK LINKS

COPYRIGHT © 2025

ALL RIGHTS RESERVED // PRIVACY POLICY // TERMS AND CONDITIONS