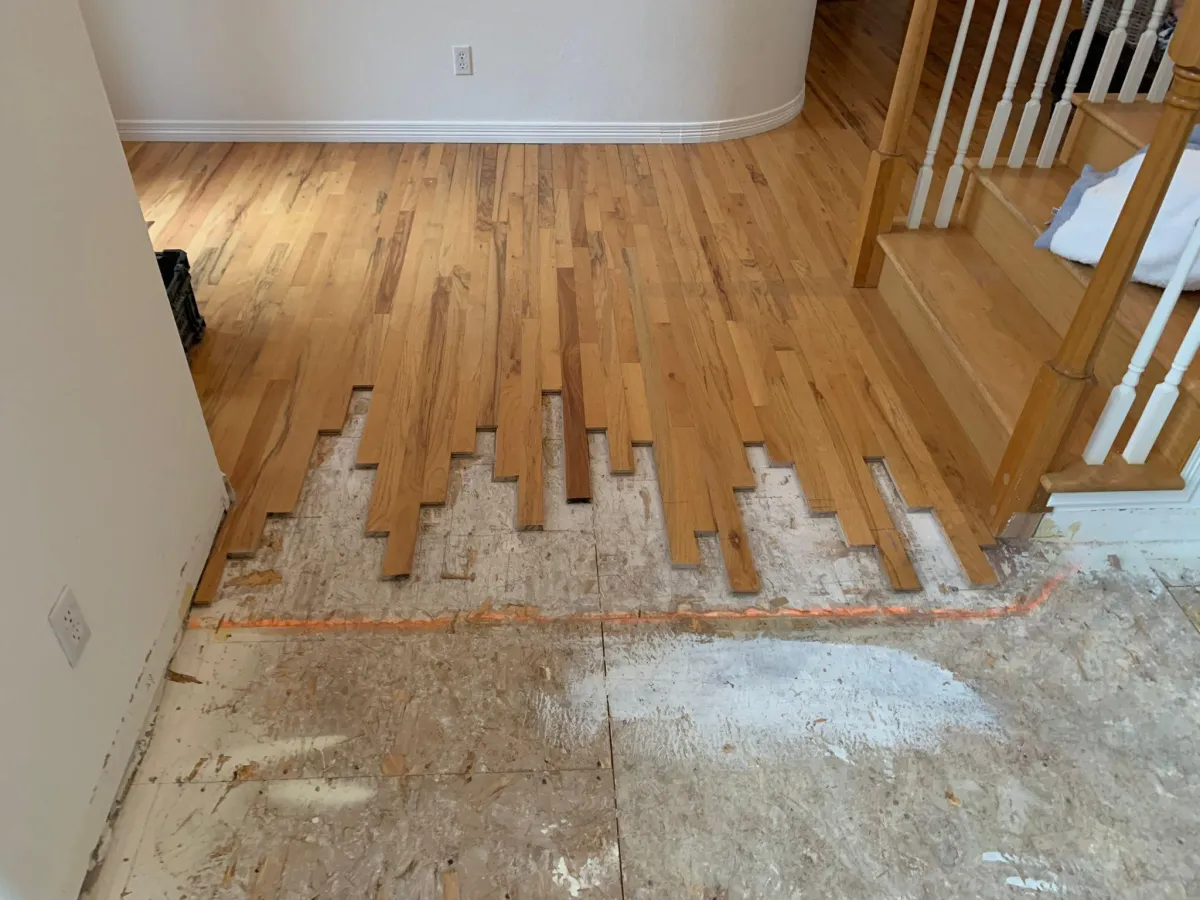
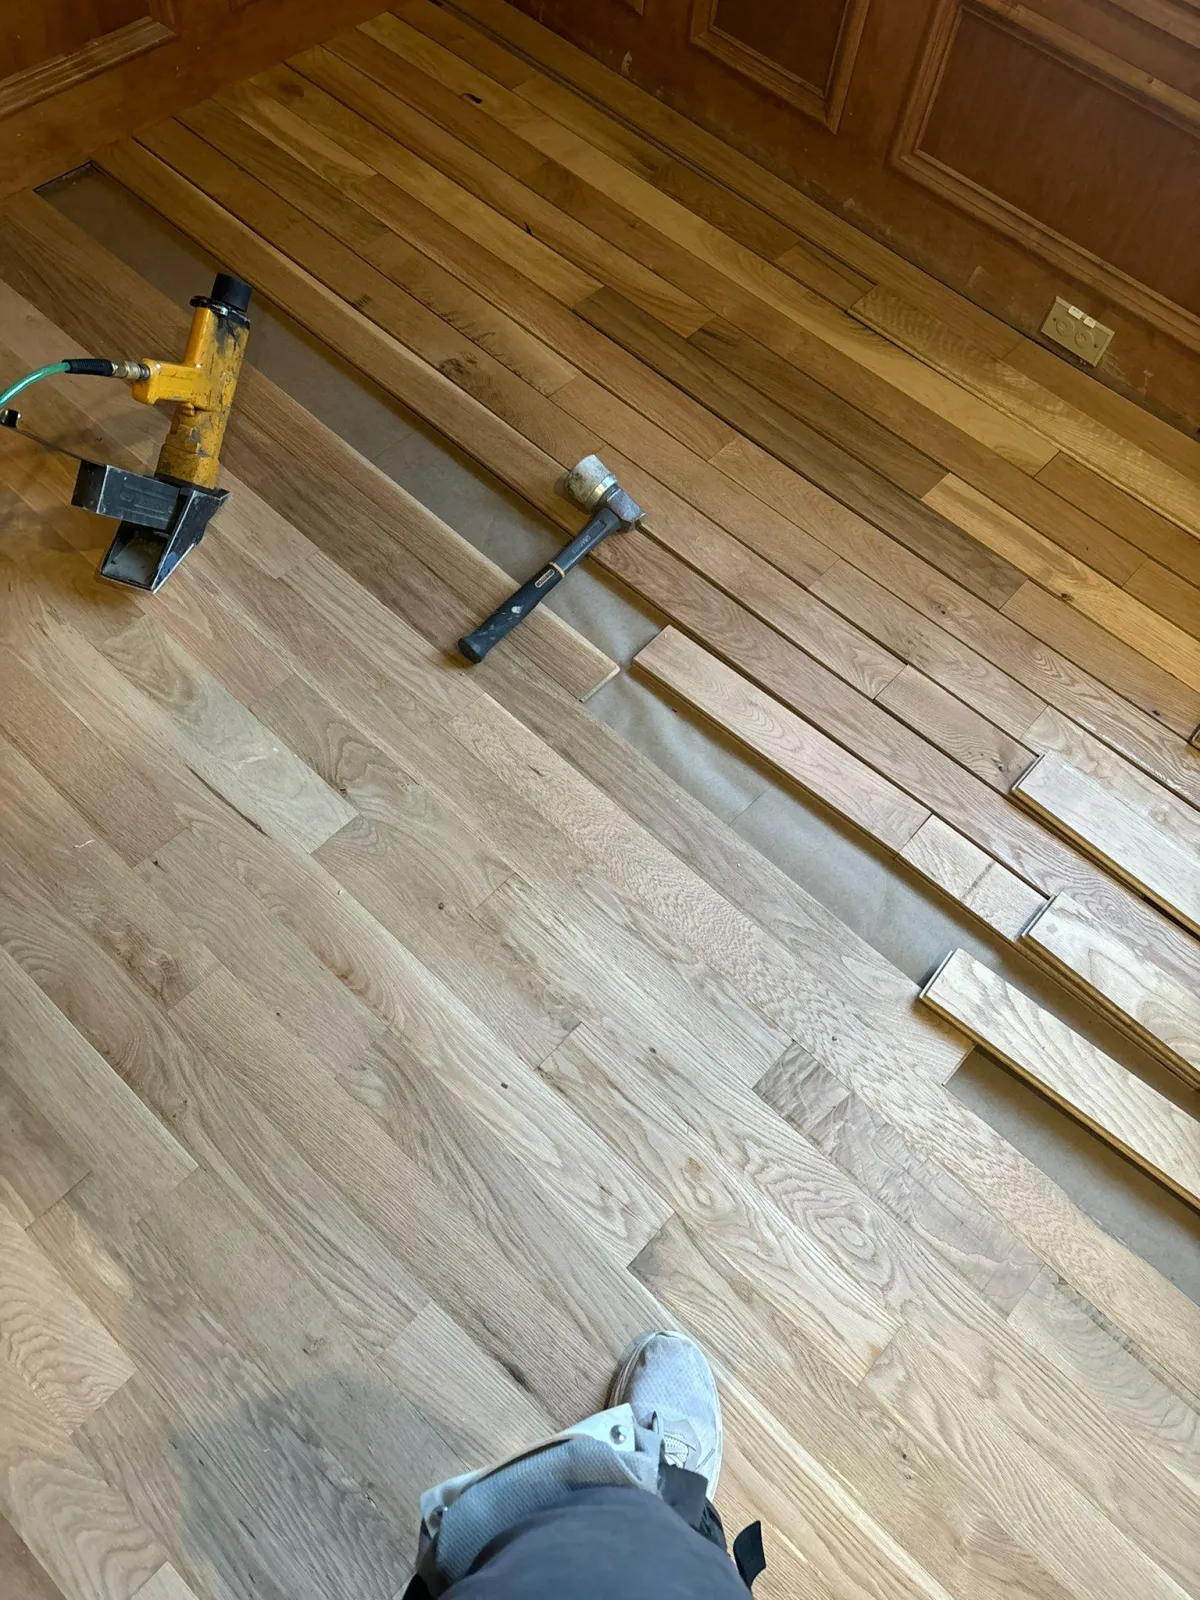
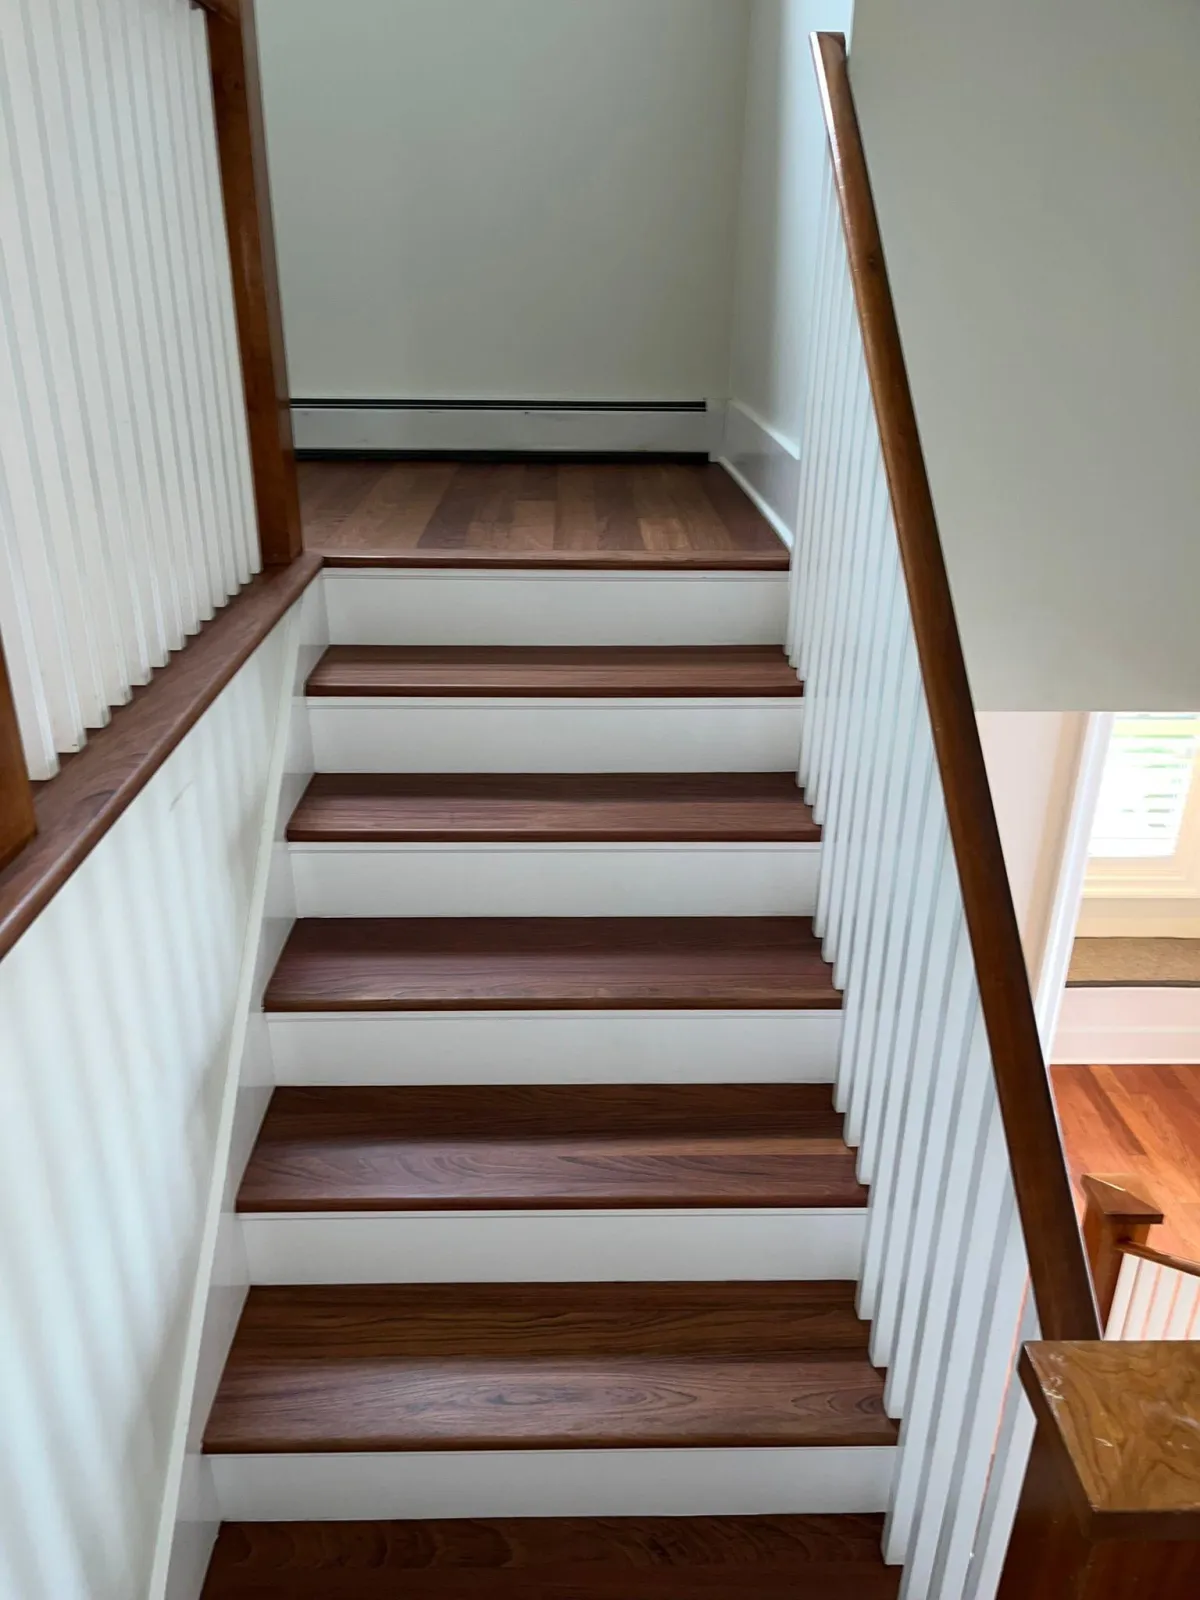
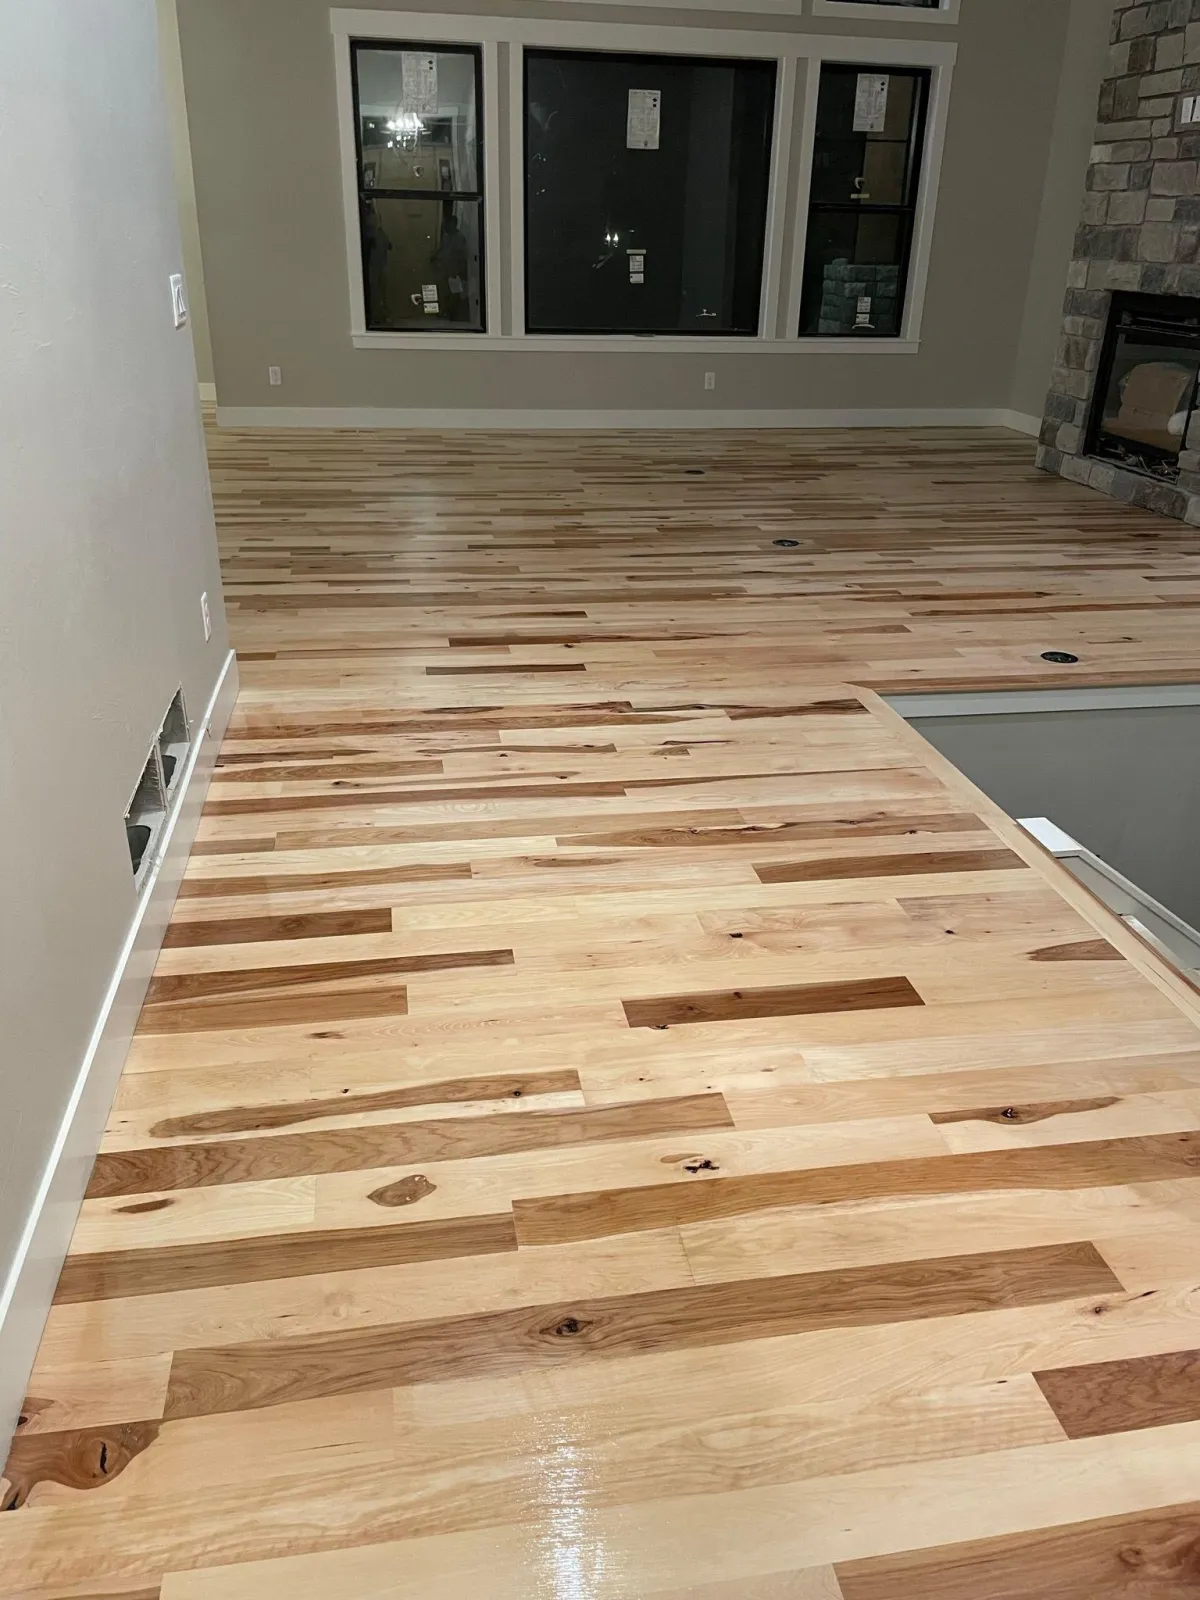
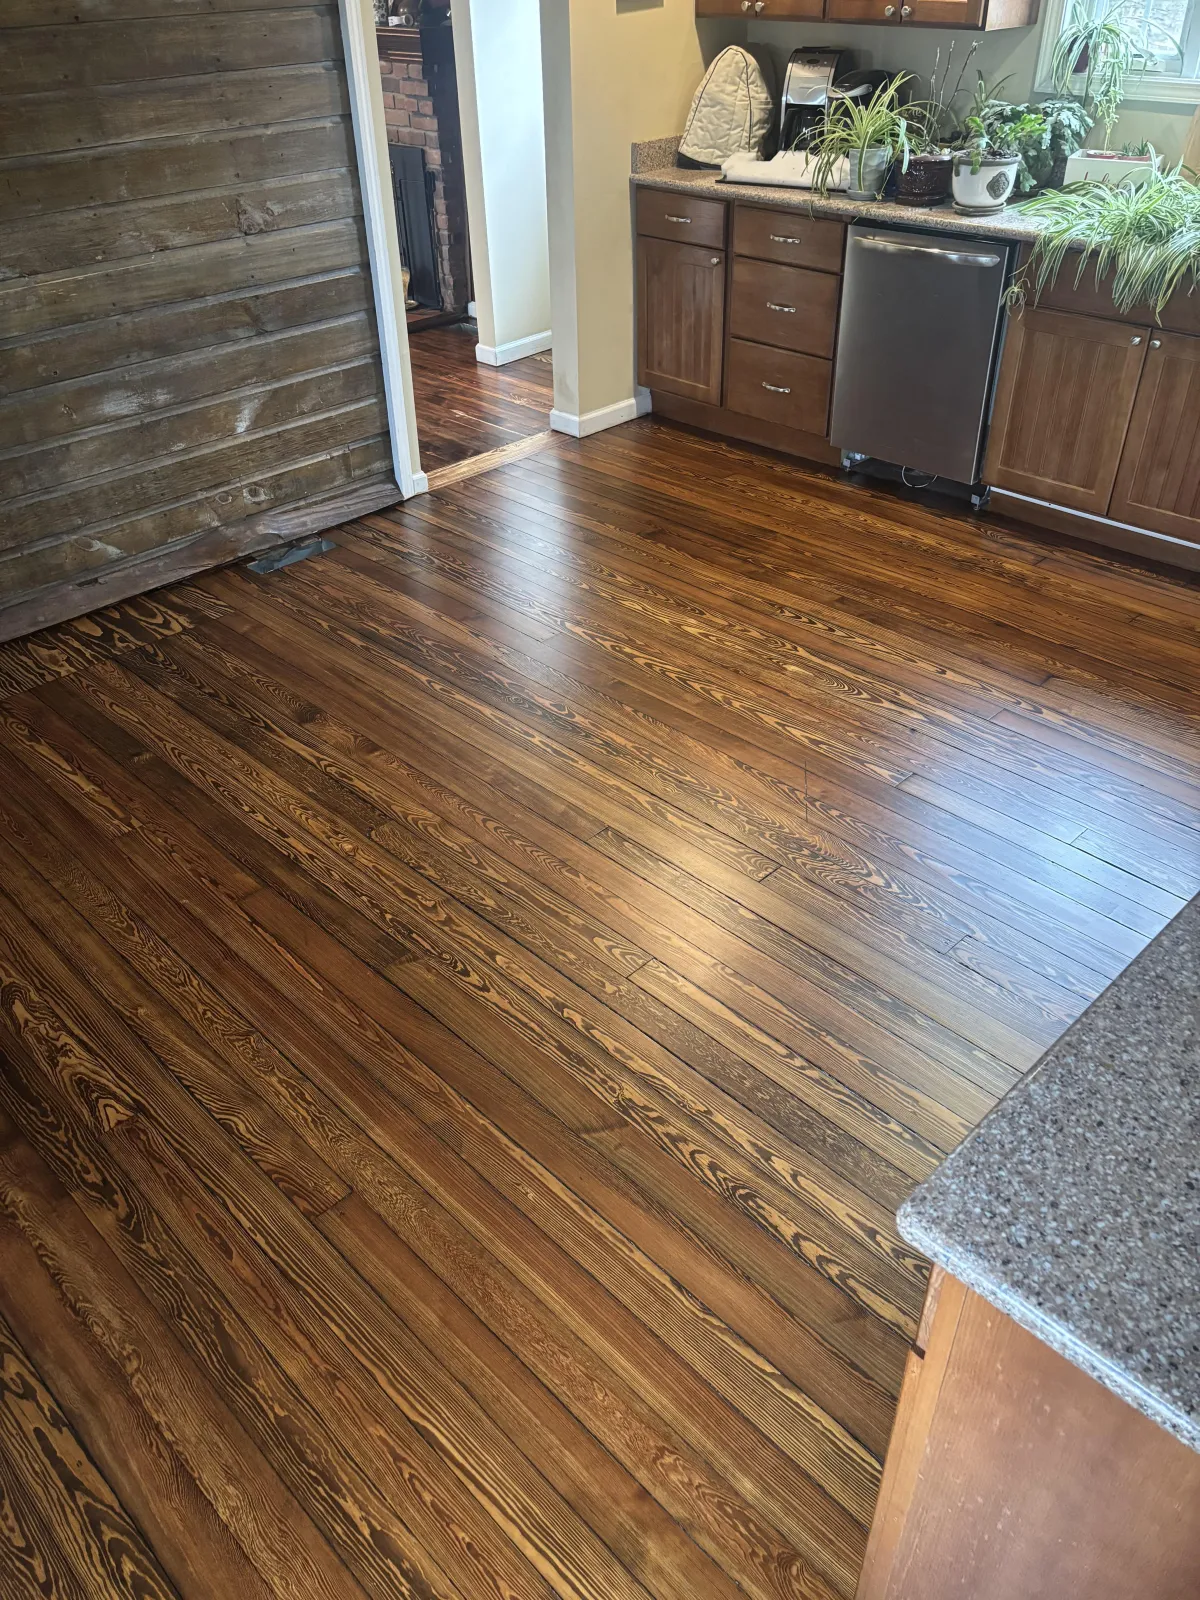
Bathroom with beautiful vinyl plank flooring installed.

A Comprehensive Guide to Installing Vinyl Plank Flooring in a Bathroom: Tips and Tricks for Success

January 10, 202512 min read

Understanding Vinyl Plank Flooring for Bathrooms

Benefits of Vinyl Plank Flooring in Bathrooms

Vinyl plank flooring is a fantastic choice for bathrooms, primarily because of its water-resistant nature. Unlike traditional hardwood, vinyl planks can withstand moisture and humidity, making them perfect for a bathroom environment. They're also durable, resisting scratches and stains, which means they can handle the wear and tear of daily use. Plus, vinyl plank flooring is easy to clean and maintain, requiring just a quick sweep or mop to keep it looking fresh. This ease of maintenance is a significant advantage for busy homeowners.

Types of Vinyl Plank Flooring Suitable for Bathrooms

When it comes to selecting vinyl planks for your bathroom, you have several options. Luxury Vinyl Plank (LVP) is popular due to its realistic wood appearance and robust construction. It's designed to mimic the look of hardwood, offering elegance without the upkeep. Then there's Rigid Core Vinyl Plank, which features a solid core for added stability and a more authentic feel underfoot. This type is especially good for high-traffic areas. Lastly, Waterproof Vinyl Plank is specifically engineered to handle moisture, making it ideal for bathrooms.

Comparing Vinyl Plank to Other Bathroom Flooring Options

Vinyl plank flooring stands out when compared to other bathroom flooring materials. While ceramic tiles are also water-resistant, they can be cold and hard underfoot, lacking the comfort that vinyl provides. Hardwood, on the other hand, is not suitable for bathrooms due to its susceptibility to water damage. Laminate flooring, although a budget-friendly option, doesn't offer the same level of water resistance as vinyl planks. Thus, vinyl plank flooring offers a balanced mix of comfort, style, and practicality, making it a superior choice for bathroom flooring.

Preparing Your Bathroom for Vinyl Plank Installation

Clearing and Cleaning the Bathroom Space

Before you even think about laying down those vinyl planks, you gotta clear the space. Move out everything—furniture, rugs, even the toilet if you can. Trust me, it's way easier to work with an open area. Once you've got the room empty, it's time to clean. Sweep away any dust and debris. You want a spotless subfloor because any dirt can mess up the adhesive. If the floor isn't clean, your planks won't stick right, and that's just asking for trouble later on.

Assessing and Repairing the Subfloor

Now, let's talk subfloor. This is your foundation, so it needs to be in tip-top shape. Check for any cracks or uneven spots. If you've got a concrete subfloor, make sure it's dry and level. Use a self-leveling compound to fill in any low areas, and sand down any high spots. This is crucial—any imperfections can lead to your planks not sitting flat, and nobody wants that.

Gathering Essential Tools and Materials

Okay, tools and materials time. Here's what you'll need:

  • Utility Knife: For cutting planks to size.

  • Measuring Tape: Measure twice, cut once, right?

  • Chalk Line: Helps keep your rows straight.

  • Rubber Mallet: To tap planks into place without damaging them.

  • Tapping Block: Essential for snug fits.

  • Safety Gear: Goggles and gloves—safety first!

Getting your tools and materials ready before you start is like setting the stage for a play. You don't want to be halfway through and realize you're missing something. It just throws everything off.

For more expert tips and solutions for flooring, including how to clean laminate hardwood floors and budget for renovations, explore our comprehensive guides.

Step-by-Step Guide to Installing Vinyl Plank Flooring

Measuring and Cutting Vinyl Planks

Before you start laying down your vinyl planks, grab a measuring tape and jot down the dimensions of your bathroom. This step is crucial because it ensures you don't run out of planks midway through your project. Precision here saves you a lot of headache later. Once you've got your measurements, add about 10% extra to account for mistakes and future repairs. Next, cut your planks to fit the space. You'll need a utility knife, a vinyl cutter, or even a jigsaw for more complex cuts. For those tricky areas around pipes or curves, use cardboard to create a template first, then trace and cut your vinyl plank to match.

Laying the First Row of Planks

Now that your planks are cut, it’s time to lay the first row. Start along the longest wall, which usually provides the best visual alignment. Leave a small gap between the planks and the wall to allow for expansion—this is usually about 1/4 inch. If you're using click-lock planks, angle the tongue of one plank into the groove of the next and press down to click them together. For glue-down planks, apply the adhesive to the subfloor with a notched trowel and lay your planks down, pressing firmly.

Continuing the Installation Process

With the first row in place, continue laying your planks row by row. Stagger the seams for a more natural look and to improve stability. This means the end of one plank should not line up with the end of a plank in the next row. Use a tapping block and a rubber mallet to ensure each plank is snugly fit. If you encounter any obstacles like doorways or fixtures, carefully measure and cut the planks to fit. Remember to wipe off any excess adhesive immediately if you're using a glue-down method.

Installing vinyl plank flooring might seem daunting at first, but once you get the hang of it, it’s like piecing together a giant puzzle. Just take your time, and before you know it, you’ll have a beautiful, new bathroom floor.

For those who prefer a professional touch, consider reaching out to Cedar Oak Flooring for expert installation services. They offer a range of flooring options and ensure a flawless finish that enhances your space.

Handling Bathroom Obstacles and Fixtures

Cutting Vinyl Planks Around Toilets and Sinks

Installing vinyl planks in a bathroom can be tricky, especially when you have to fit them around toilets and sinks. Precision is key to achieving a seamless look. Start by measuring the areas around these fixtures carefully. Use a flexible tape measure to capture the exact dimensions and create a paper template to guide your cuts. When cutting the vinyl, a utility knife or sharp scissors will work best for clean edges. Test fit each piece before securing it to ensure a snug fit.

Remember, patience and accuracy during this step can save you from future headaches and repairs.

Dealing with Doorways and Thresholds

Doorways and thresholds present another challenge. When you reach a doorway, you'll need to cut the planks to fit snugly around the frames. A jigsaw is ideal for making these precise cuts. Leave a small gap for expansion, about 3/8 of an inch, which will later be covered by a transition strip or molding. This gap is crucial to prevent buckling over time.

  • Tip: Save any cut-off pieces from the end of each row. These can often be used to start the next row, helping maintain your staggered pattern and reducing waste.

Ensuring a Waterproof Seal

Bathrooms are prone to moisture, so ensuring a waterproof seal is essential. Use silicone caulk around the edges where the vinyl meets the walls, fixtures, and any other potential water entry points. This not only helps in maintaining the floor's integrity but also prevents water from seeping underneath, which can cause damage.

A well-sealed floor not only protects from water damage but also enhances the longevity of your vinyl flooring.

For comprehensive flooring advice, including choosing the right type for your bathroom, check out our flooring solutions guide.

Finishing Touches for a Professional Look

Vinyl plank flooring in a stylish bathroom setting.

Installing Baseboards and Trim

Once your vinyl planks are all set, the next move is getting those baseboards and trim back in place. This step is all about giving your floor that clean, polished look, like it just rolled out of a showroom. Start by choosing trim that matches or complements your flooring. Whether you go for wood, MDF, or plastic, make sure it fits snugly against the walls. Use a nail gun for quick and neat attachment, but be careful not to damage your new floor. A well-installed trim can make all the difference, turning a good job into a great one.

Applying Sealant for Water Resistance

Bathrooms are wet places, no doubt about it. To keep your vinyl planks looking sharp and lasting long, applying a sealant is a smart move. Focus on sealing the edges, especially around fixtures like toilets and sinks. A good silicone-based sealant works wonders in keeping water from sneaking underneath. Make sure to apply it evenly, and wipe away any excess for a neat finish. This step not only protects your floor but also adds a layer of peace of mind knowing that your bathroom floor can handle those accidental splashes.

Final Inspection and Clean-Up

Before you call it a day, give your new floor a good once-over. Check for any gaps, misaligned planks, or spots that need a touch-up. This is your chance to fix any small issues before they become big problems. Once everything looks good, clean up the area. Sweep away any dust or debris, and give the floor a light mop with a gentle cleaner. Stand back and admire your handiwork—you've earned it! A final inspection ensures that everything is just right, leaving you with a bathroom floor that's not only functional but also a joy to look at.

Maintaining Your Vinyl Plank Bathroom Floor

Regular Cleaning and Care Tips

Keeping your vinyl plank floor looking fresh is all about regular maintenance. Sweep or vacuum your floor often to avoid dirt and debris buildup. For more thorough cleaning, use a damp mop with a cleaner specifically designed for vinyl floors. Avoid soaking the floor, as too much water can seep into the seams and cause damage over time. Also, steer clear of harsh chemicals that might strip the finish off your beautiful floor.

Preventing Water Damage

Bathrooms are naturally wet places, so it's crucial to take steps to prevent water damage. Place rugs or mats in areas prone to getting wet, like near the tub or sink. These will catch splashes and spills before they reach your floor. Make sure to dry any water spills immediately to avoid any seepage into the seams, which can lead to warping or swelling.

Repairing Minor Damages

Even with the best care, accidents happen. If you notice any small scratches or scuffs, you can often fix them yourself. Use a repair kit designed for vinyl flooring; these usually include wax pencils or markers that match your floor's color. For deeper gouges, you might need to replace the affected plank. If you're unsure how to tackle these repairs, consider consulting a professional to ensure the job is done right.

With a little regular attention, your vinyl plank flooring can stay looking as good as the day it was installed. Remember, quick action on spills and scratches can prevent bigger issues down the line. Keeping up with maintenance not only preserves the floor's appearance but also extends its lifespan.

For more cleaning tips, check out our guide on maintaining laminate floors, which offers useful advice that can also apply to vinyl flooring.

Common Mistakes to Avoid During Installation

Stylish vinyl plank flooring in a modern bathroom setting.

Ignoring Subfloor Preparation

Before you get too excited about laying down your new vinyl planks, you gotta check the subfloor. Skipping this step can lead to uneven flooring and future headaches. Make sure the subfloor is clean, dry, and level. If there are any bumps or dips, fix them up before starting. A smooth subfloor is key for a successful installation.

Incorrect Plank Alignment

Getting the planks aligned right from the start is super important. If the first row isn't straight, the whole floor will look off. Use spacers to maintain an even gap along the walls and keep things neat. Also, double-check the alignment as you go to avoid any wavy lines or gaps.

Skipping the Acclimation Process

Vinyl planks need to adjust to the room's environment before installation. Let them sit in the bathroom for at least 24 hours. This helps prevent expansion or contraction after they're installed. It's a simple step, but it makes a big difference in the long run.

Taking the time to prepare and plan your installation can save you from a lot of trouble later. It's like setting a strong foundation for your home—get it right, and everything else falls into place.

Enhancing Bathroom Aesthetics with Vinyl Plank

Choosing the Right Color and Texture

When picking out vinyl plank flooring for your bathroom, it's all about the vibe you want to create. Lighter shades can make a small bathroom feel more open and airy, while darker tones add a touch of luxury and sophistication. Consider the texture too—do you want something smooth and sleek or a bit more rustic with wood grain patterns? Choosing the right color and texture can set the mood for your bathroom and make it feel like a personal retreat.

Incorporating Design Patterns

Adding design patterns to your vinyl flooring can elevate the look of your bathroom. Herringbone or chevron patterns are popular choices that add a bit of flair without overwhelming the space. If you're feeling bold, mix different plank widths or colors to create a unique mosaic effect. Just remember, consistency is key to avoid a cluttered appearance.

Complementing Bathroom Decor

Your bathroom's overall decor should harmonize with your flooring choice. If you have a minimalist style, opt for simple, elegant planks that blend seamlessly with the rest of the room. For a more eclectic look, choose planks that pick up colors from your tiles or accessories. Don't forget about the fixtures and fittings; they should complement, not clash with, your flooring. A well-thought-out combination of flooring and decor can transform your bathroom into a cohesive and stylish space.

Pro Tip: When in doubt, consult with flooring experts like Cedar Oak Flooring in Middlefield, Ohio, who can guide you in selecting the perfect vinyl plank flooring to match your bathroom decor.

If you're looking to make your bathroom look better, consider using vinyl plank flooring. It's not only stylish but also easy to clean and maintain. Visit our website to learn more about how we can help you transform your space with beautiful flooring options!

Conclusion

Wrapping up, installing vinyl plank flooring in your bathroom isn't just a home improvement task—it's a chance to add a touch of style and practicality to one of the most used rooms in your house. With the right tools and a bit of patience, you can transform your bathroom into a space that not only looks great but also stands up to daily wear and tear. Remember, the key is in the details: measure twice, cut once, and don't rush the process. Whether you're a seasoned DIYer or a first-timer, following these tips and tricks will help you achieve a professional finish. So go ahead, give it a try, and enjoy the satisfaction of a job well done. Your bathroom will thank you!

Back to Blog

LOCATION

Cedar Oak Flooring

Middlefield, Ohio 44062

16023 pierce st middlefield ohio 44062

Main Office: (440) 298-2866

HOURS

Weekdays: 8-5

Weekends: On Call

EMERGENCY SERVICE AVAILABLE

QUICK LINKS

COPYRIGHT © 2025

ALL RIGHTS RESERVED // PRIVACY POLICY // TERMS AND CONDITIONS